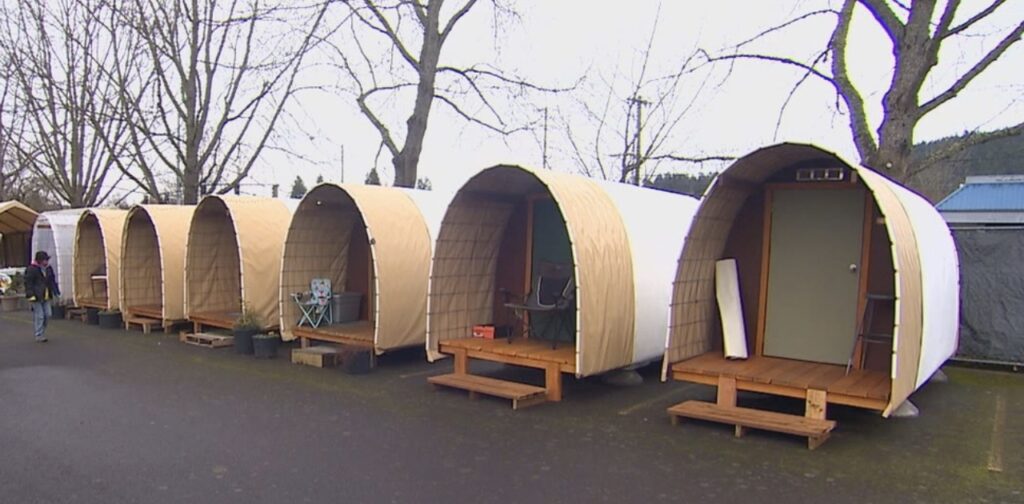
Erik de Buhr designed the 60 sq. ft. Conestoga Hut for the homeless at a cost of $2500 to $3500 depending on the amount of salvaged materials used.
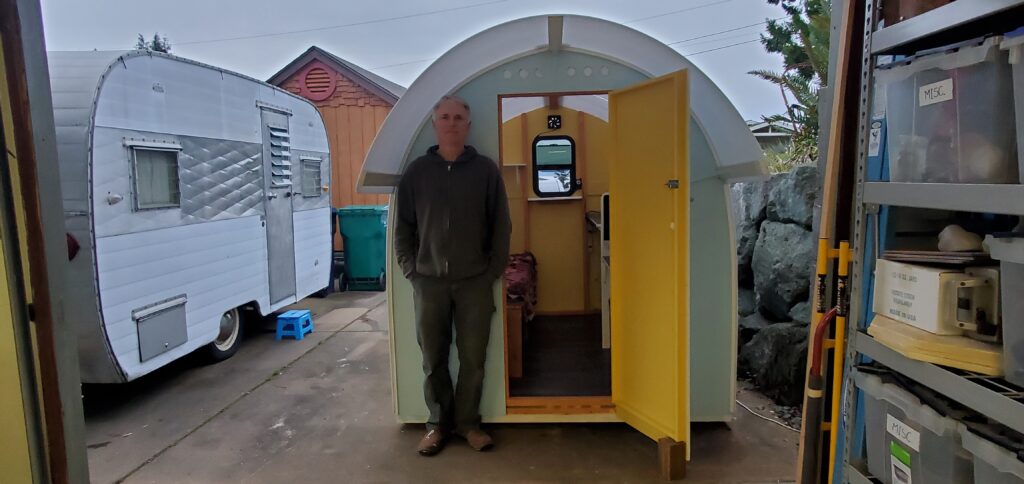
 I made this 44 sq. ft. usable interior floor-space shelter in an attempt to bring down the cost of the Conestoga Hut. All materials were purchased new. The total cost with interior bed, shelves, and counters came to under $900.
An additional 4 foot mid-section can be added (making it 67 square feet) at a cost around $170 more, for a total of $1070. Tobe fair, the original Conestoga has more robust end walls, wire mesh, some insulation and a deeper front entrance cover and porch.
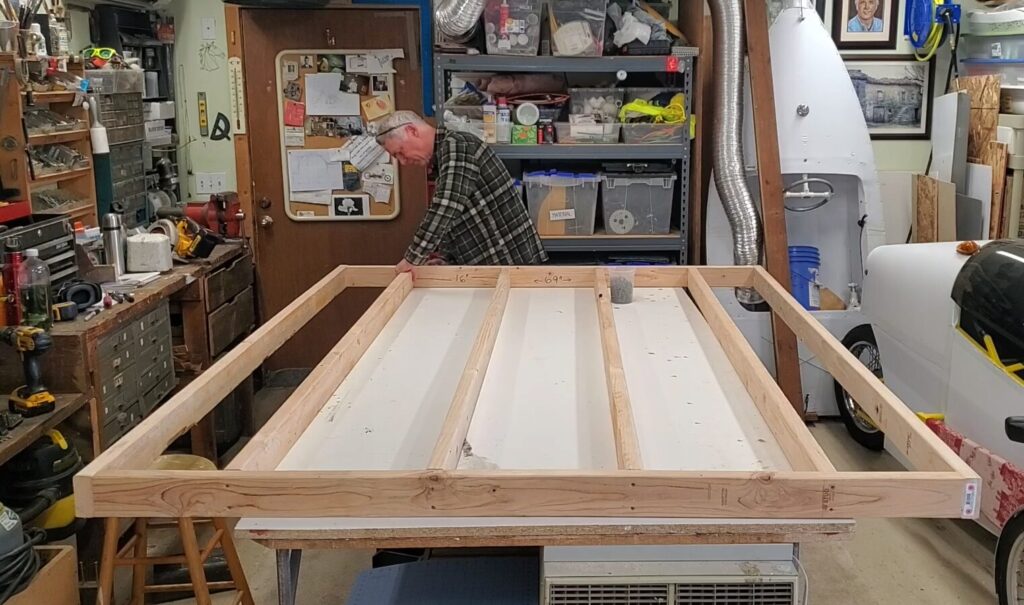 Here I’m making the floor using 2×4’s and 3″ screws.
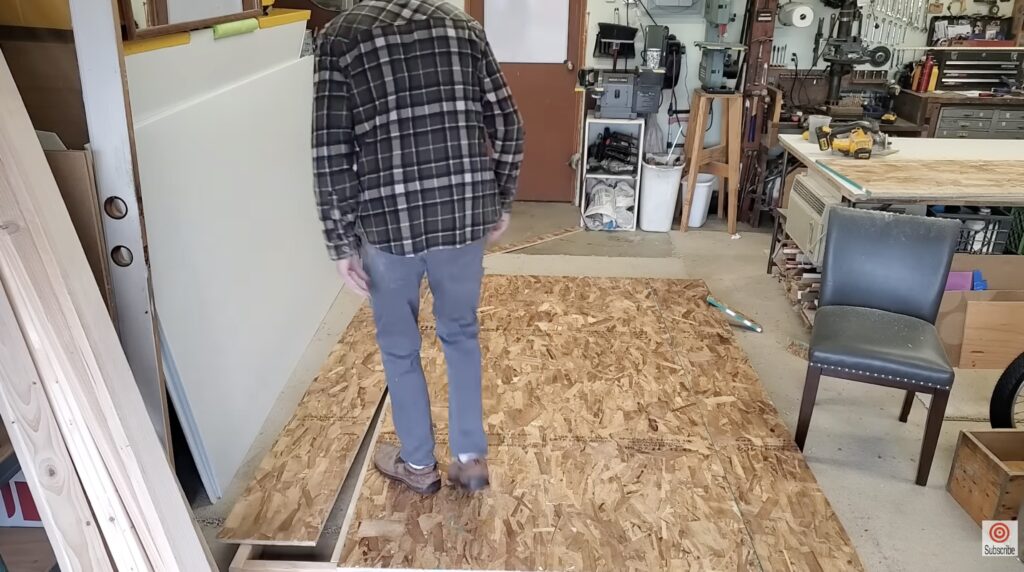
At $21 per sheet I chose to use OSB for the flooring and end walls. Because I intended to have a middle isle, I chose to have two flooring seems on the sides rather than walk on the seam. These sheets are not tongue and groove, so I ran the seams down the 2×4 floor joists, eliminating bothersome wood flex when stepping near the seams, and cost savings in framing material.

The walls pieces were screwed down to ripped-in-two 2×4’s laid flat. To secure the walls to the floor, several anchor bolts (4″ long sections of 1/2″ all thread) were double nutted and screwed into undersized pre-drilled holes along the floor edges. Matching oversized holes were drilled into the wall base boards then bolted down to the floor.
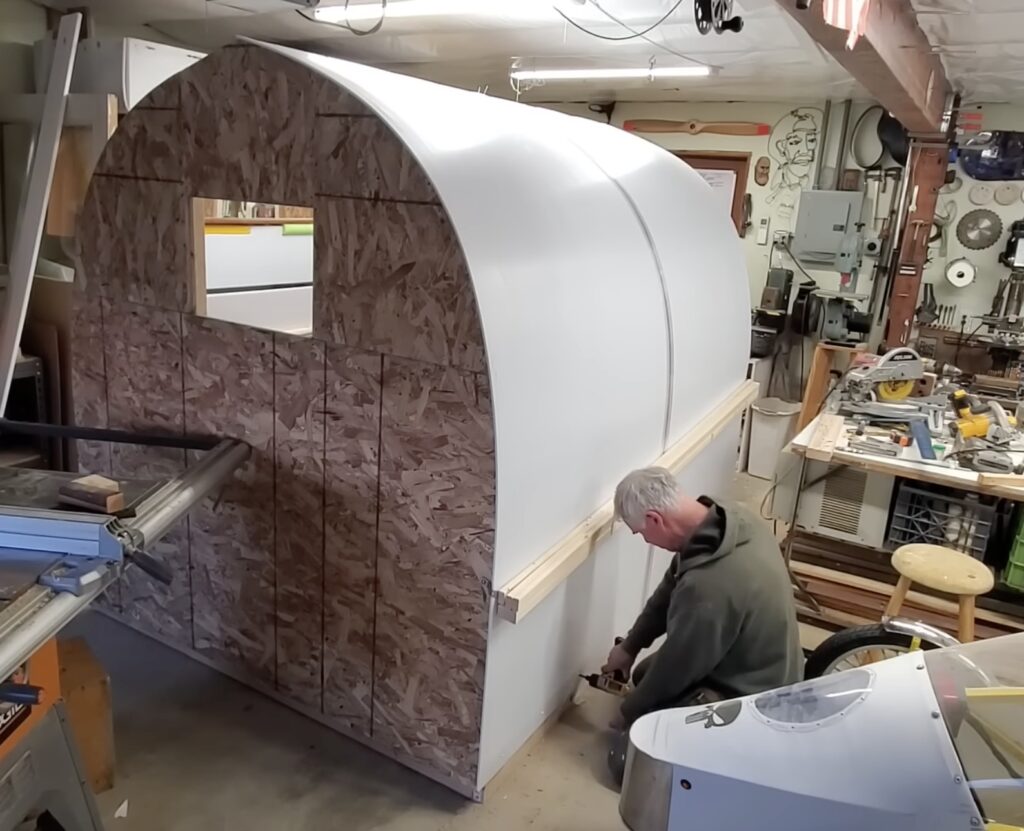
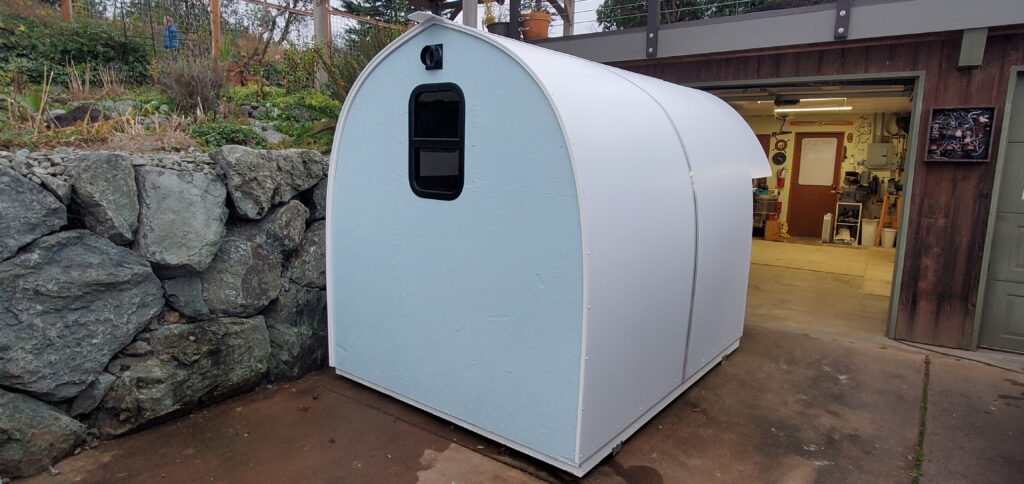
Instead of using the break-in deterrent hog wire fencing to support the outer cover, I used 6mm 4×8 foot Polypropylene fluted plastic sheets for the cover. 6mm clear Polycarbonate sheets are traditionally used in green house construction. I found the middle clear joining-strip and end-cap strips at Home Depot. The caps help entrap air in-between the flutes creating a small amount of insulation.
 Here too I used ripped 2×4’s for the horizontal panel support boards.
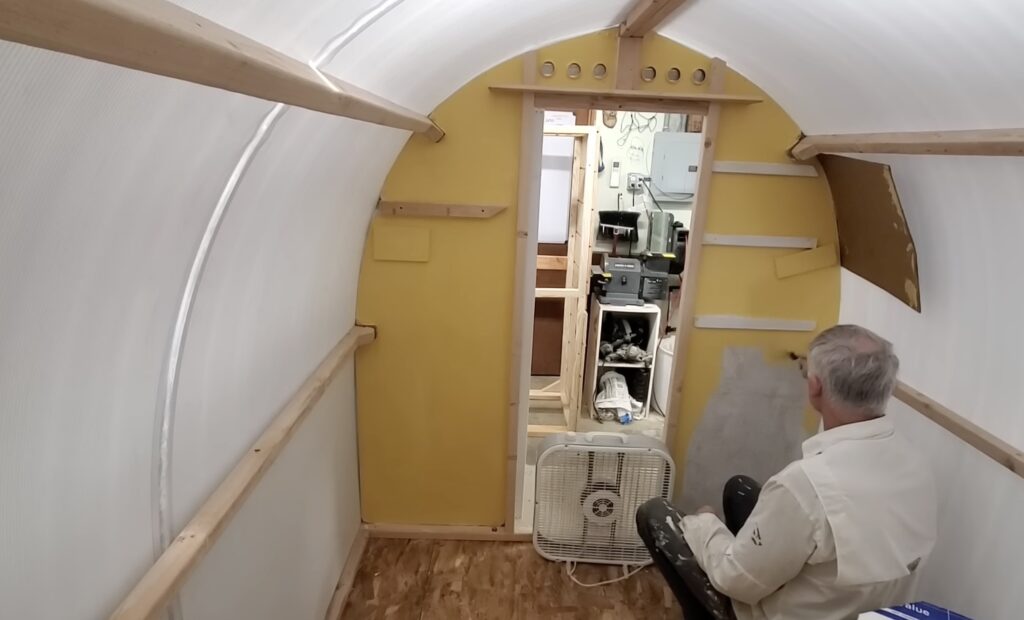 I had a can of mustard paint kicking around the shop.
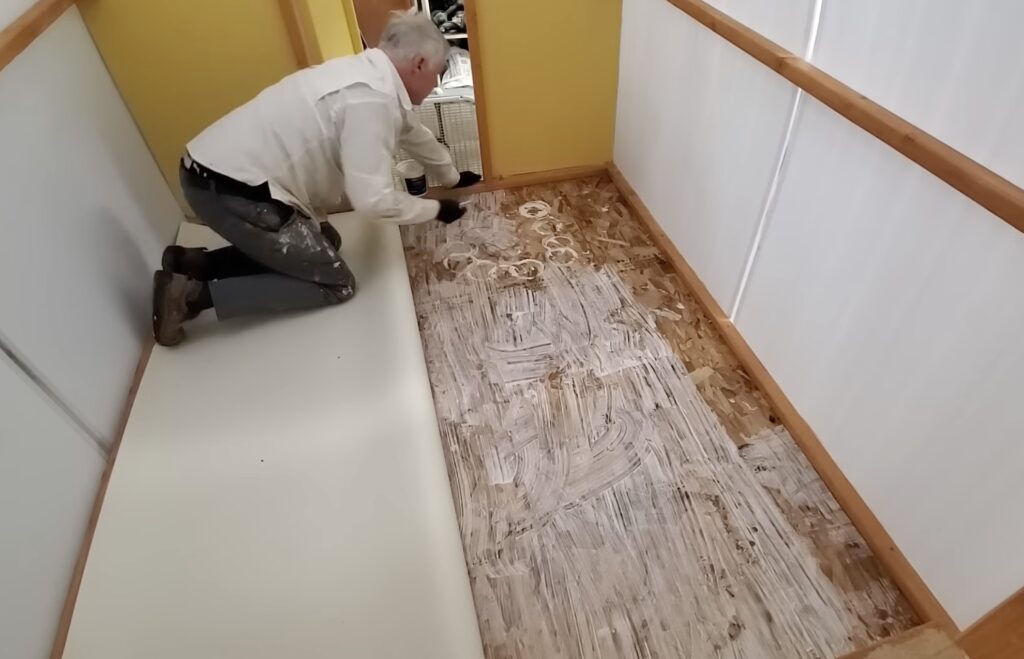 Here I’m gluing down a roll of flooring.
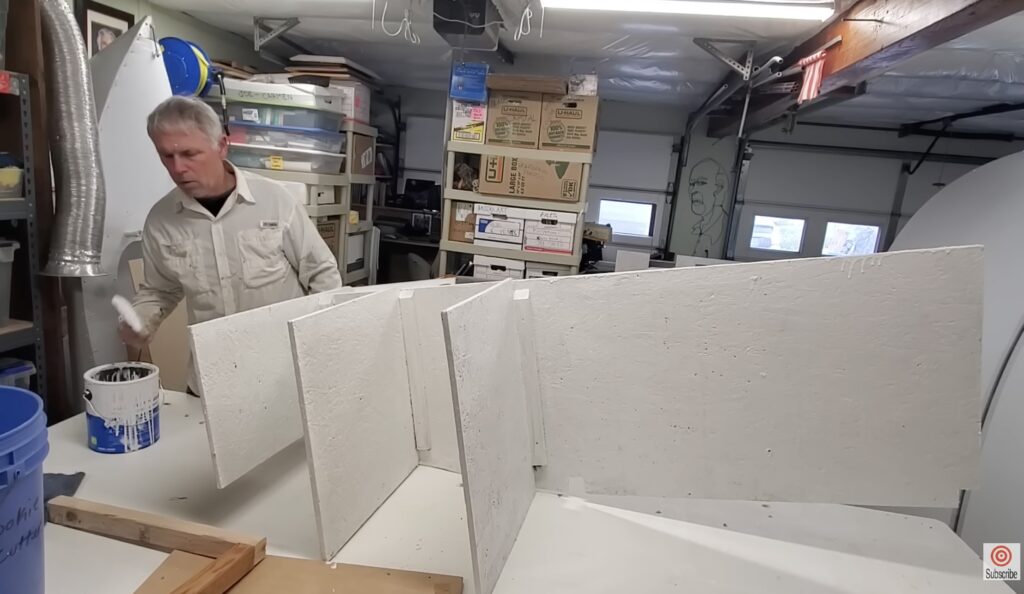 OSB leftovers were used for shelving. Here I’m priming and painting the shelves to reduce off gassing and to seal the chips from peeling.
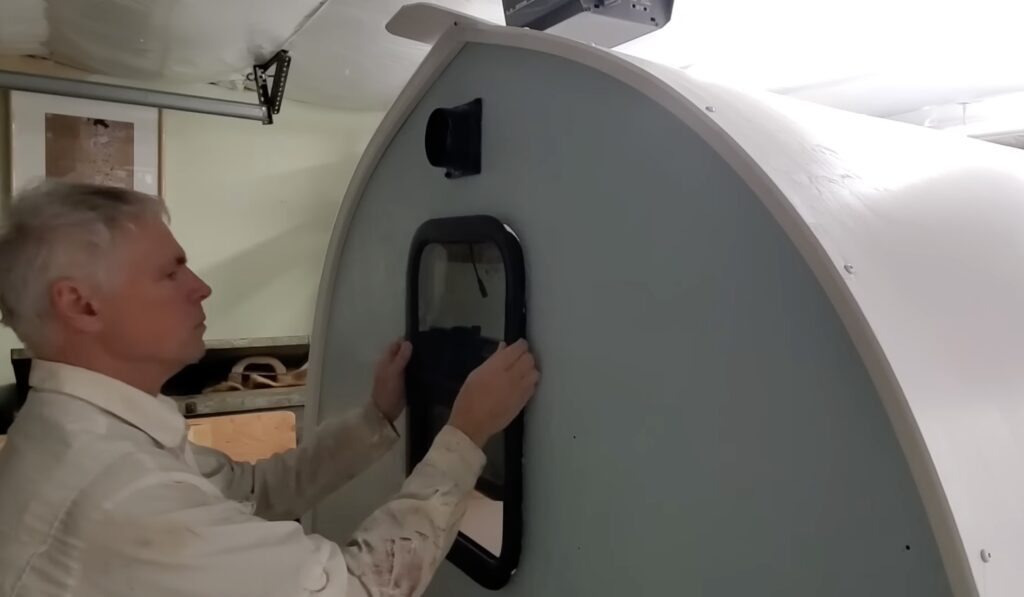
Here I’m adding an Amazon $99 window with slider and bug screen.
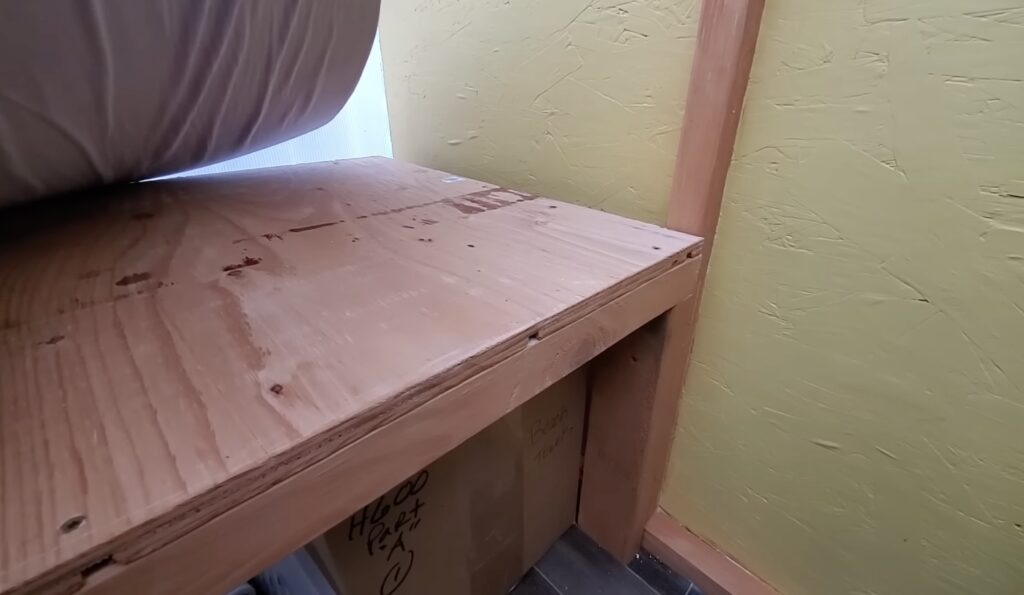
Bed platform.
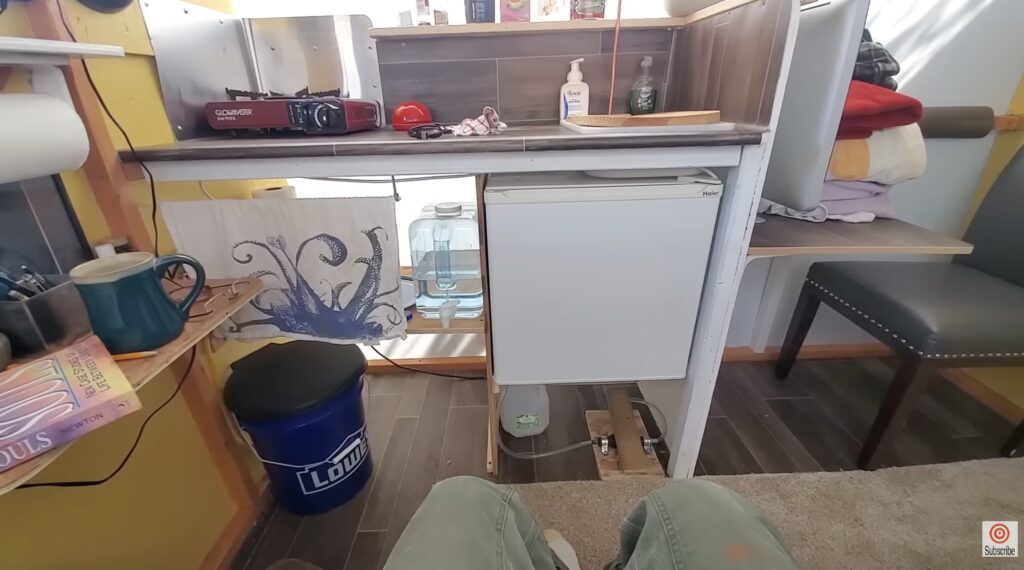
Here is the updated kitchen counter and refrigerator.
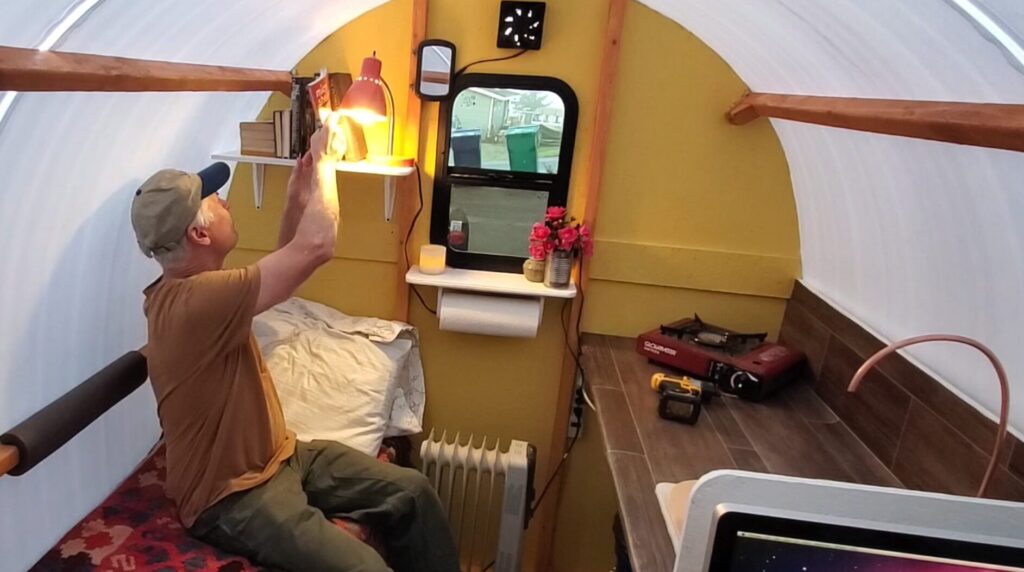
Unlike the Conestoga Hut, I outfitted this to house a single person with most of the amenities of a home. The kitchen counter houses the plastic tub sink which is emptied by simply removing and tossing the water outdoors.
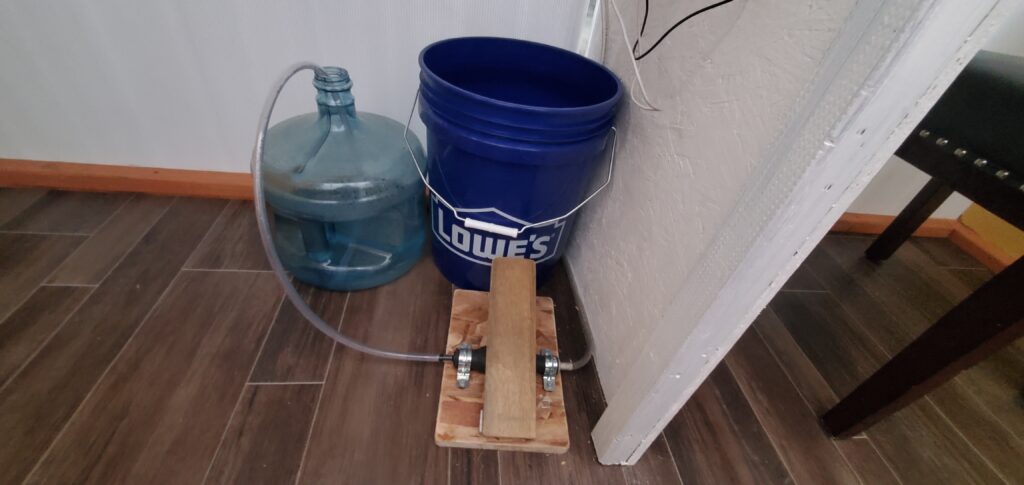
Here is a view of the foot actuated water pump (gas primer bulb) that leads to the copper faucet. This 3 gallon jug is handy to fill and carry around.
I installed plastic drawers for holding clothes and supplies.
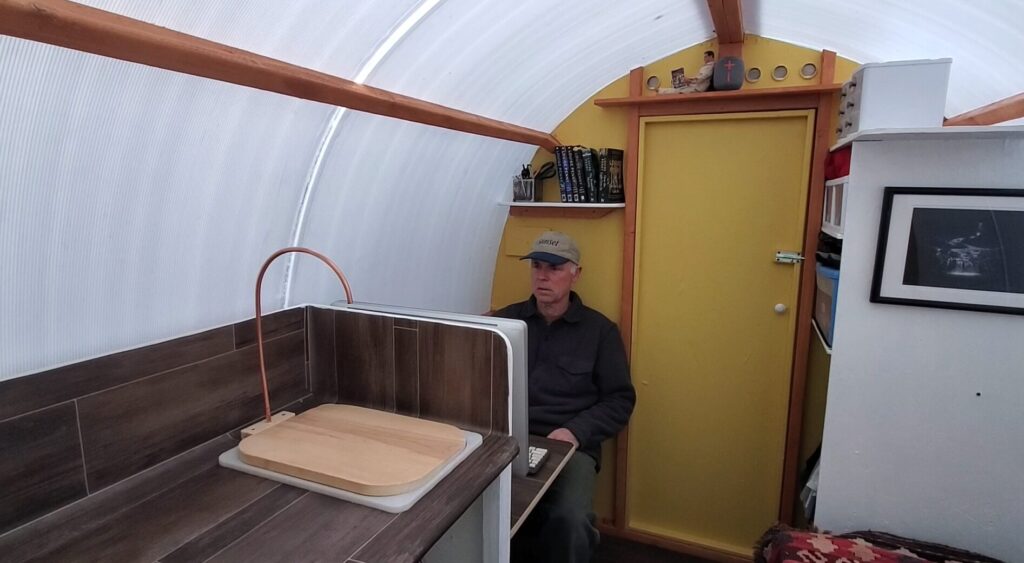
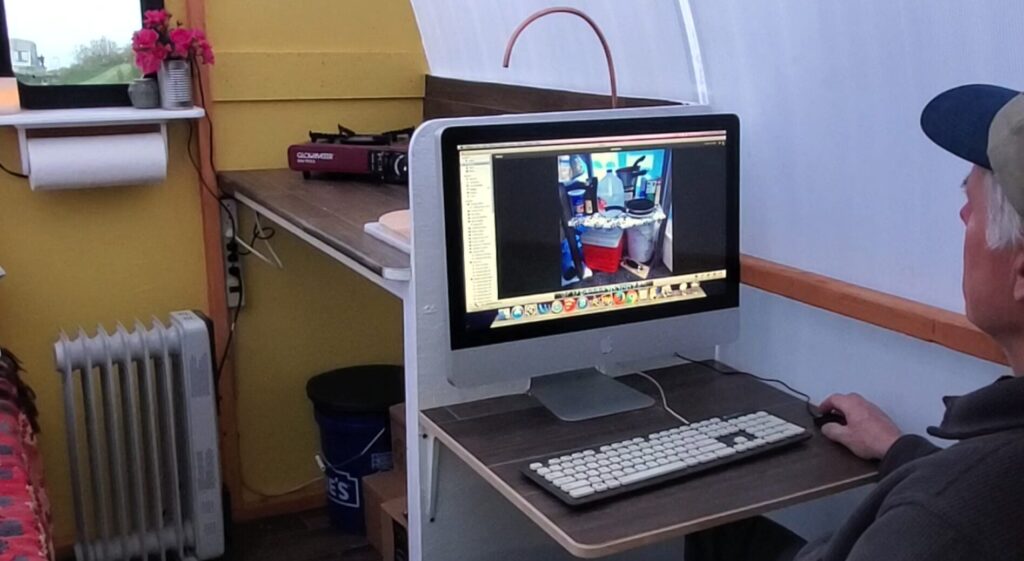 I know. Not every homeless person has an Apple computer as I, but the idea for having a general use sit-down table made sense to me.
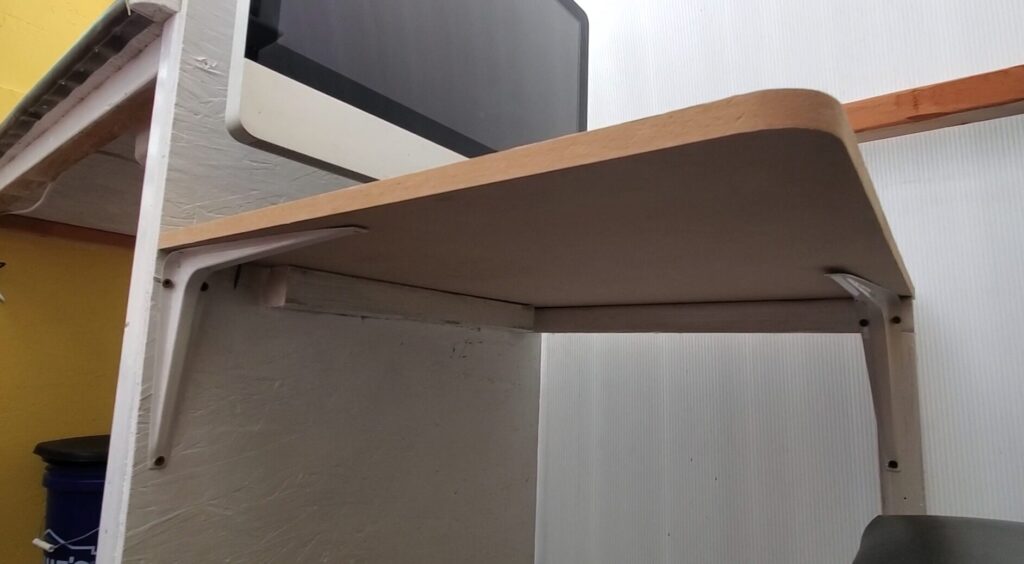 You wouldn’t want to sit on the table, but you can swing your legs underneath with ease.
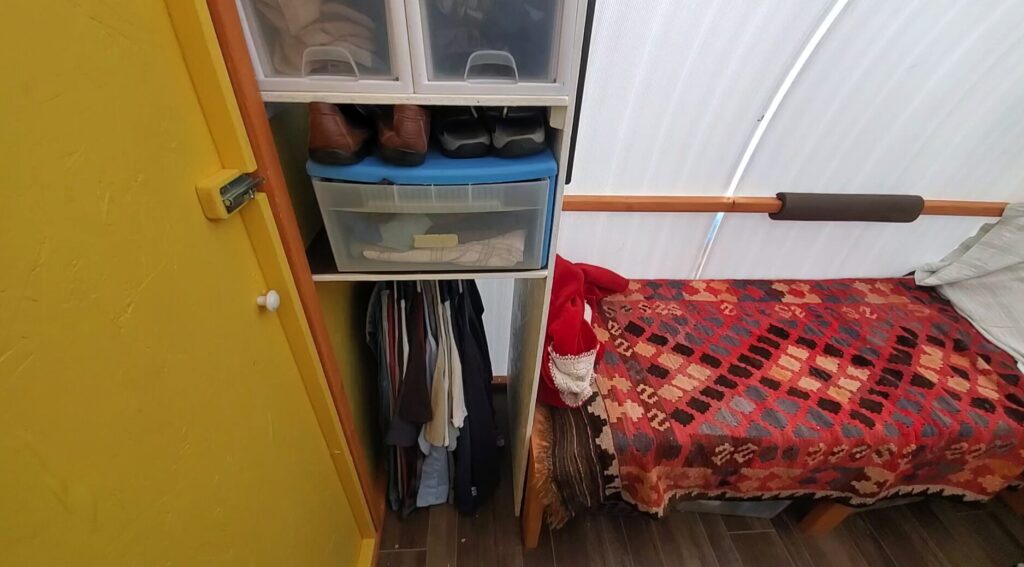 At home I hang all of my shirts and coats to keep them from wrinkling. The bed is 28″ wide and 6 foot 4 inches long with 3″ thick foam for the mattress.
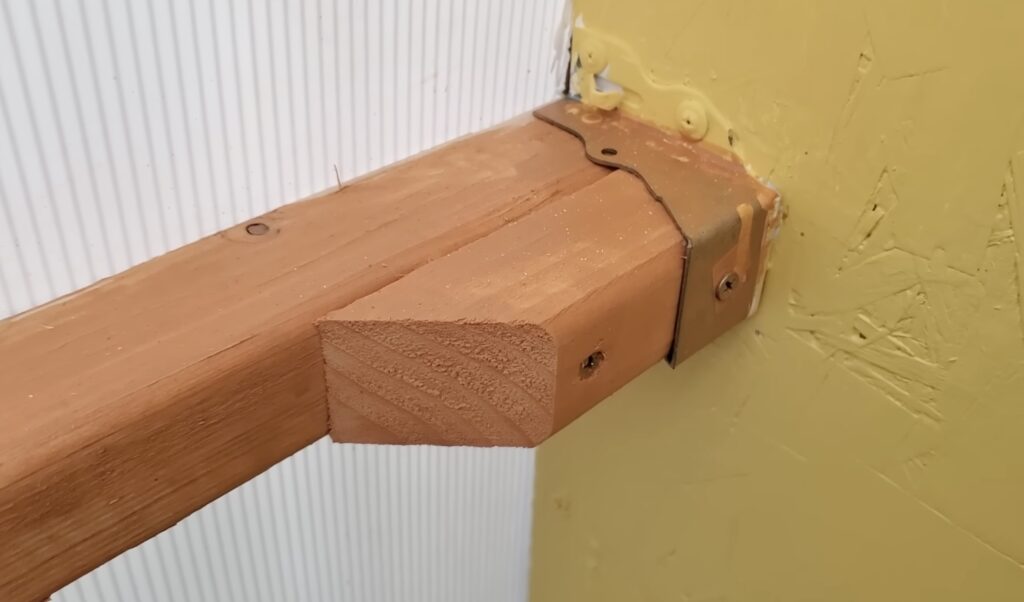
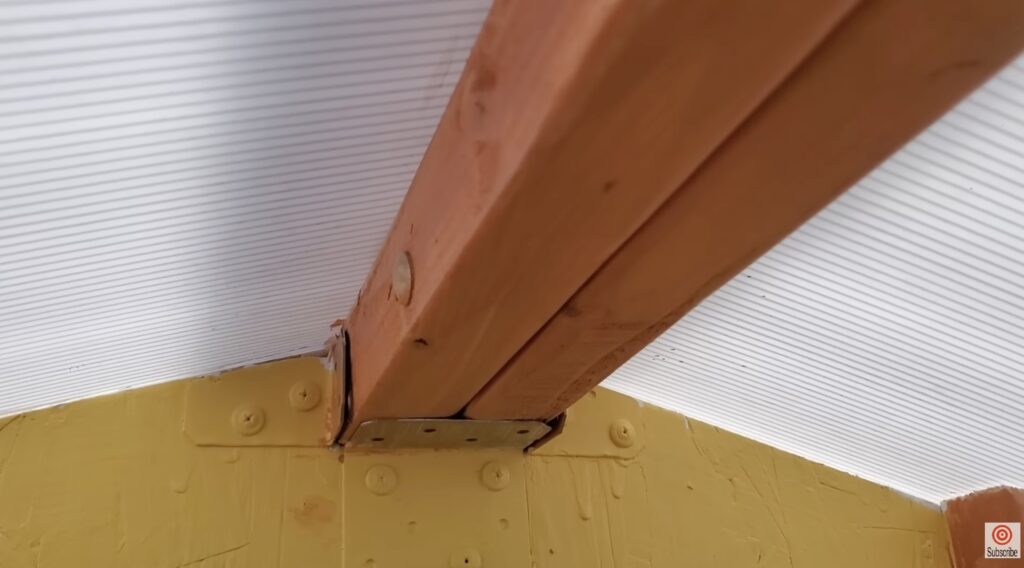
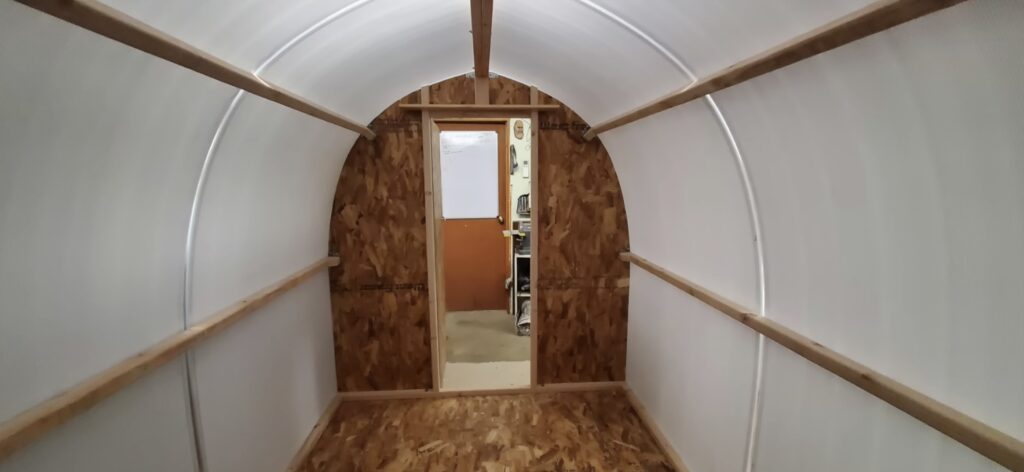
There is a possibility to add thin foam board insulation to the interior walls. I have chose not to at this point. I like the white glow that radiates from the fluted sheets during the day. The pictures above show the bolts attaching the two roof rig beams together. This allows easy dis-assembly and can be moved in the back of a 7 foot pickup truck. I made (and moved) this shelter by myself, but it would have been handy to have an extra set of hands if it were to be dis-assembled and moved. Currently there are no build plans available for this structure, but if you have questions on how to build one of these shelters feel free to contact me.