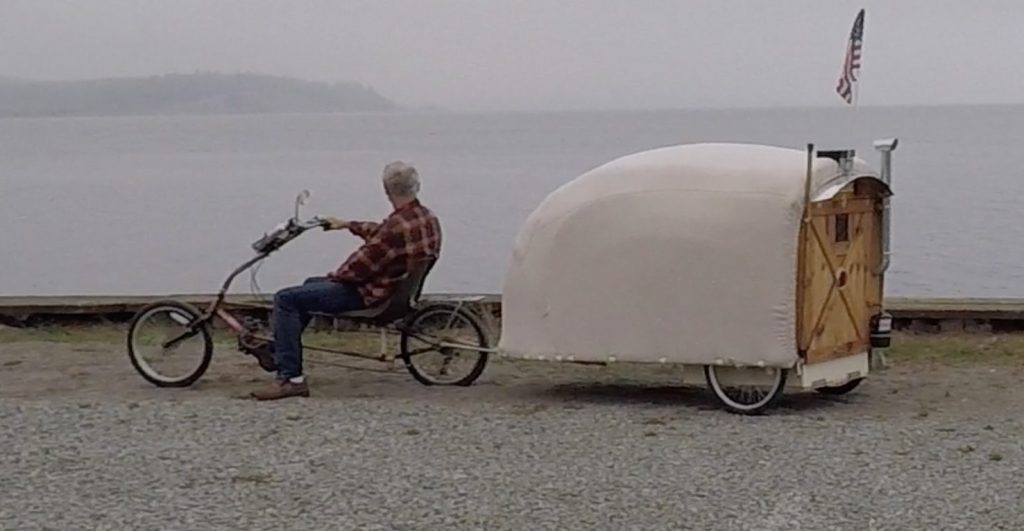
On this design weight was not a huge issue. I wanted an ecologically friendly, inexpensive camper with design elements similar to the European Gypsy and American Pioneer wagons.
The frame is somewhat similar to my Nomad bicycle camper using screwed together 1×2’s. This makes for a light-weight yet fairly sturdy frame.
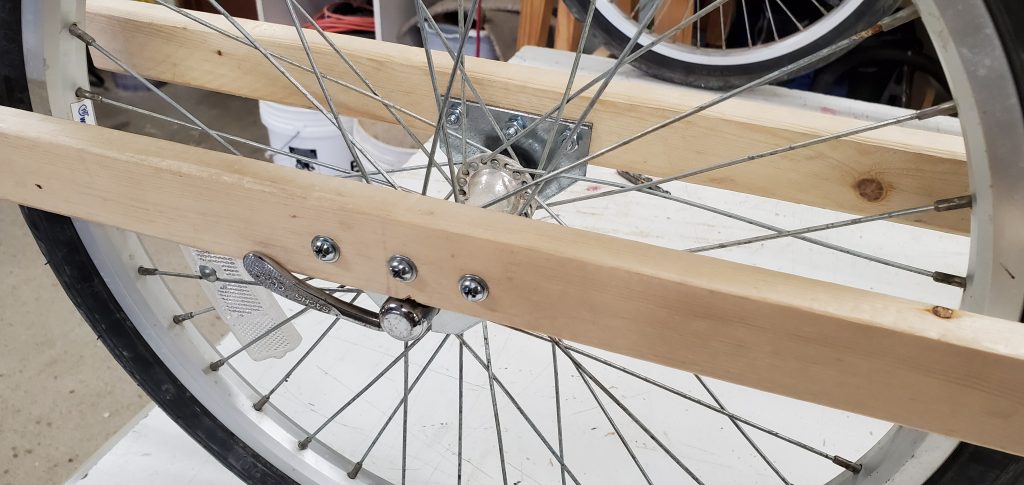
Electrical box covers were again used as wheel mounts. The two 20″ quick release aluminums rimmed wheels came from a jogging stroller.
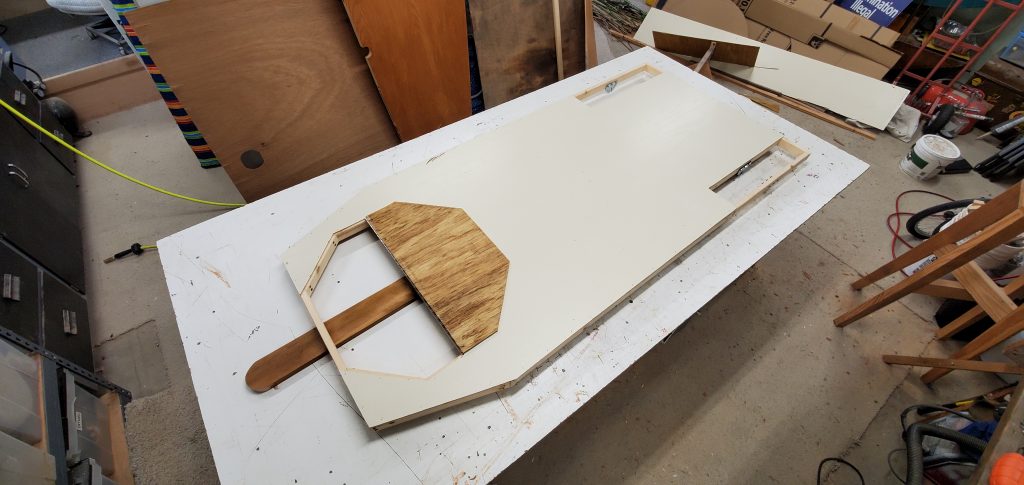
For the floor, instead of using fluted plastic I opted to glue and nail down an old 1/4″ interior panel I had kicking around. Here you can see the foot hatch.
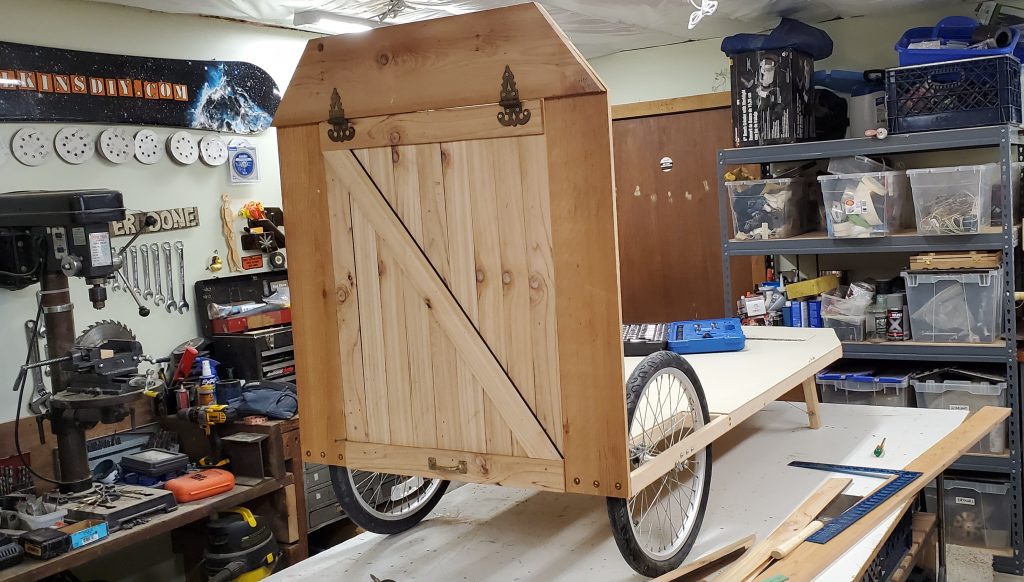
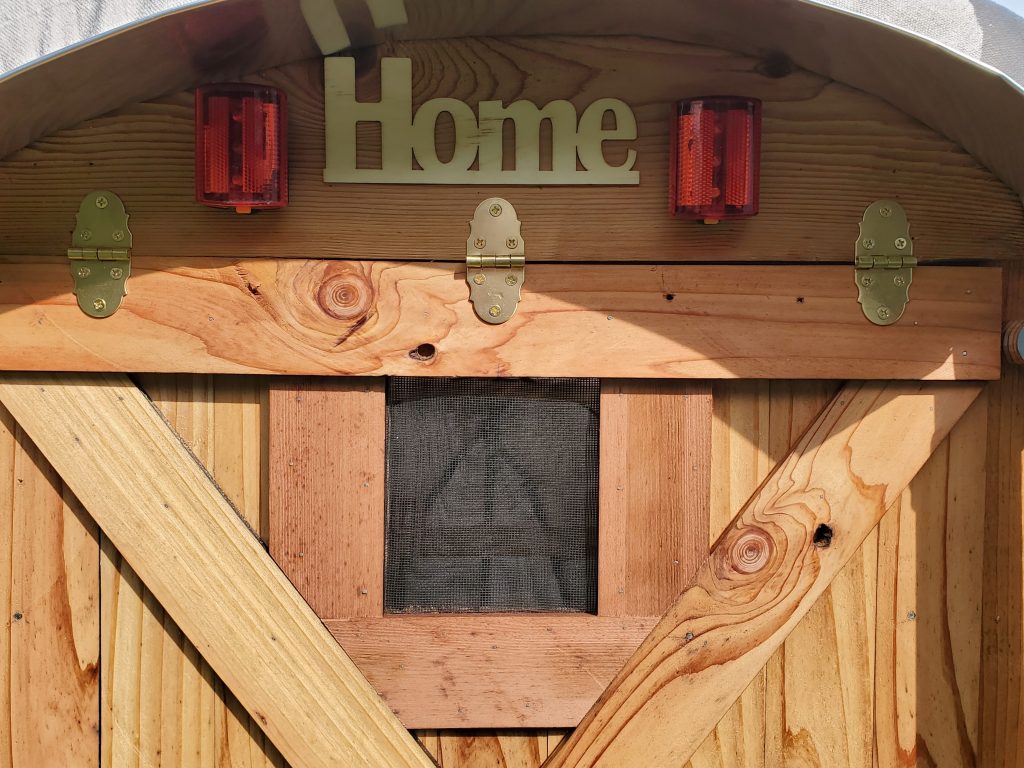
The entry door and back wall frame are made from cut down cedar boards. Early on I was going to use these beastly but cool brass hinges, but changed my mind.
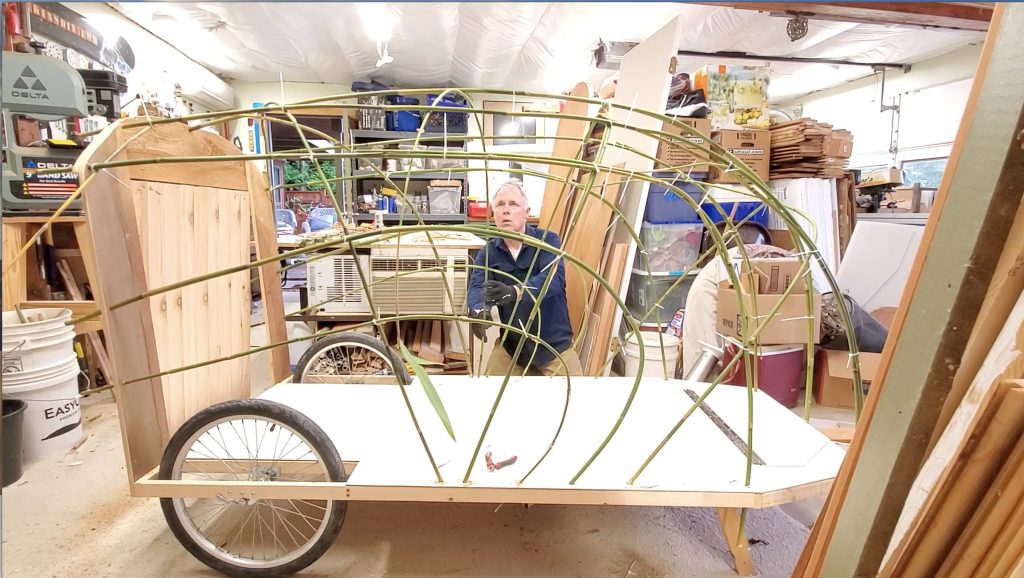
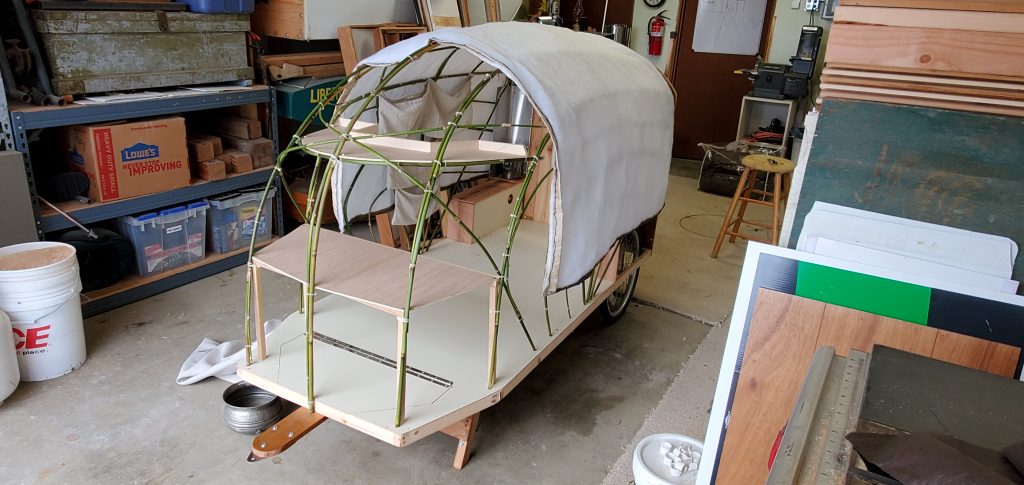
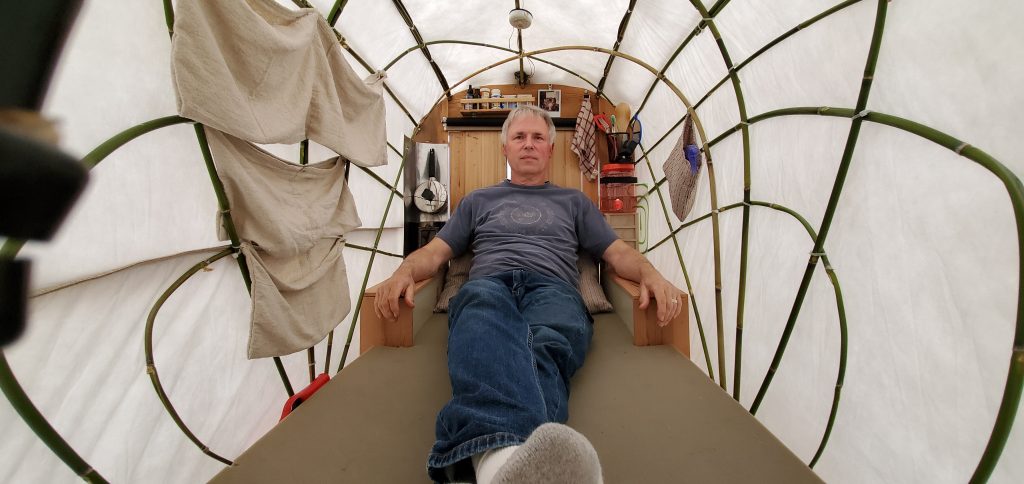
I was going to use willow branches but couldn’t find any in my area. Fortunately my neighbor donated some bamboo from his yard. This was my first time working with bamboo.
Using a step-drill bit (resembling a tall wedding cake) I drilled tight holes through the floor paneling just to the inside of the wood frame.
On the underside I nailed the shoots to the frame.
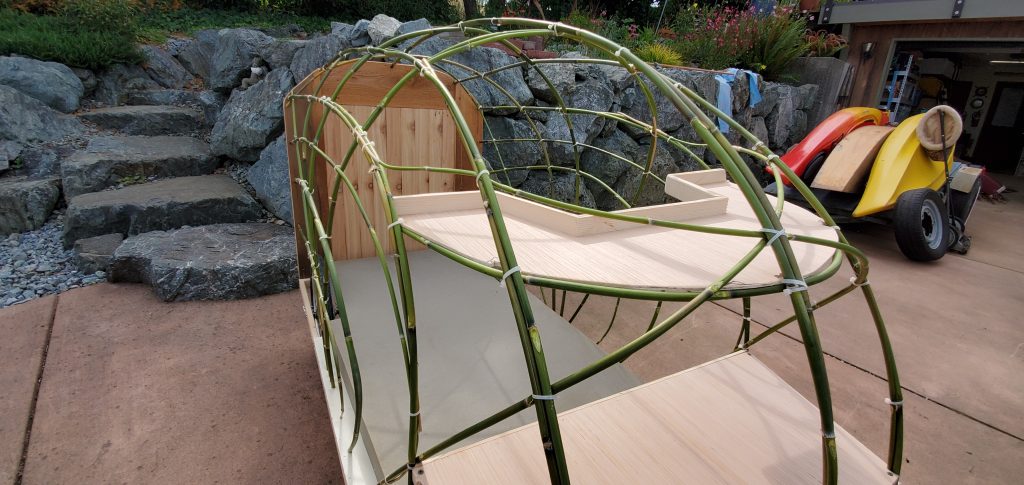
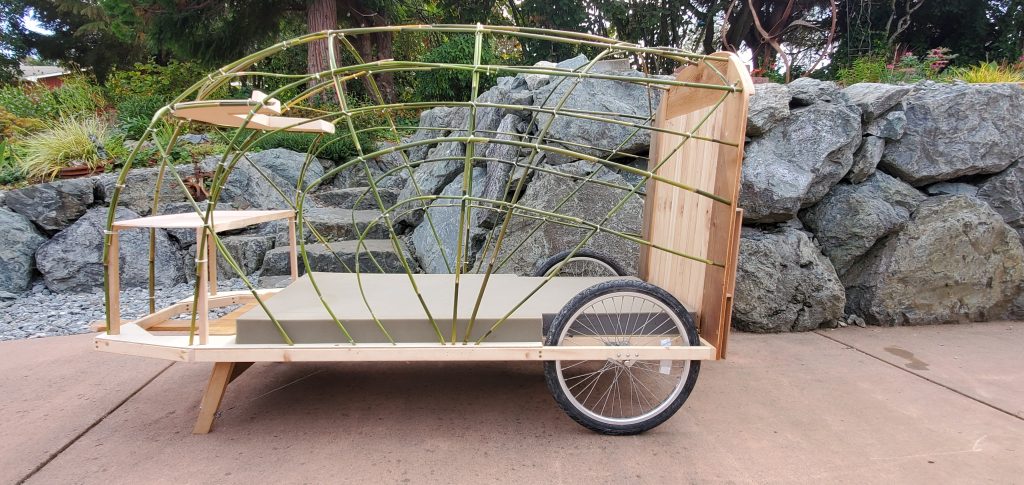
Four inch long zip ties were used to fasten the shoots together.
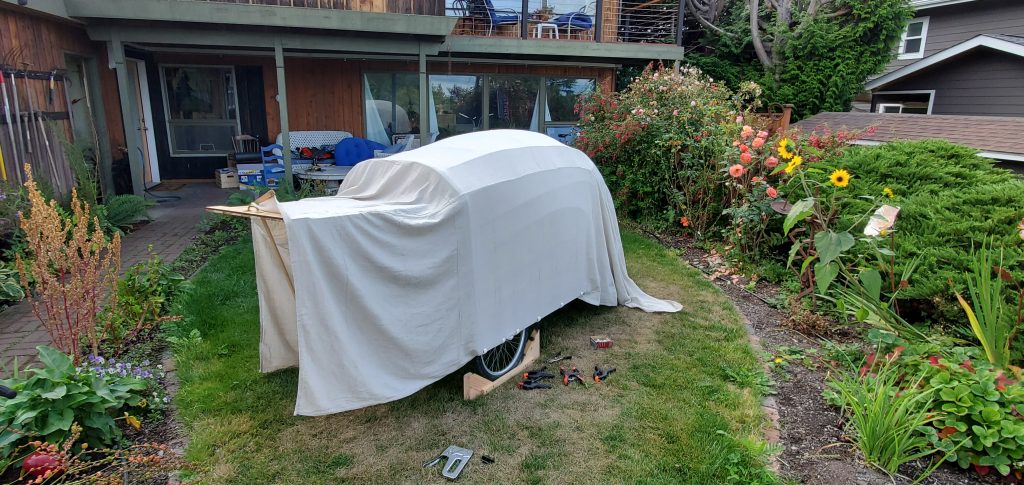
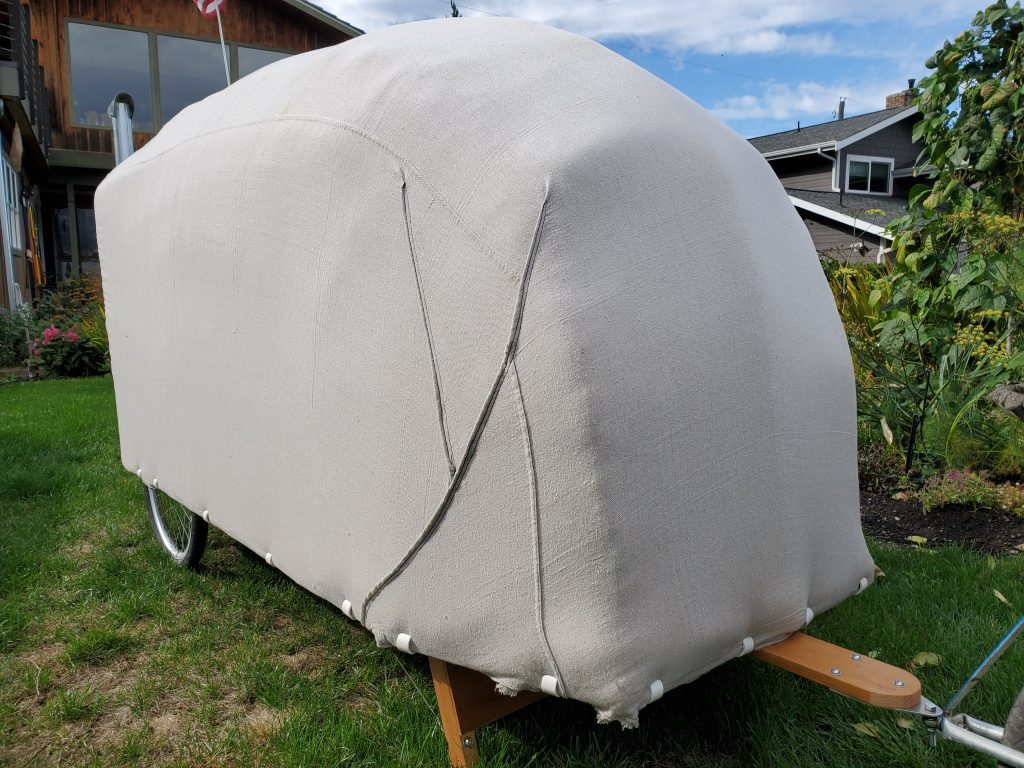
I opted for a 9×12 foot canvas drop-cloth purchased at a home improvement store. This proved to be fairly toxic as I was getting headaches after being in the shelter for a spell.
I washed it and exposed it for several days to the sun and rain. The smell is going away, and I’m told this helps condition the cotton fibers as well.
I wanted a breathable yet cheap material to cut down on interior condensation, which fluted plastic is prone to. Canvas fit the bill. I like it.
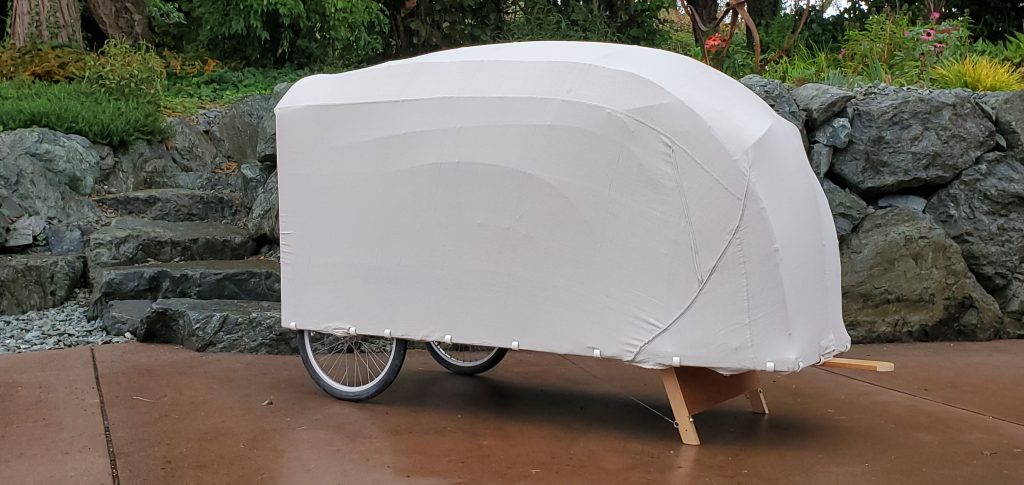
After laying out the canvas I overlapped the folds near the nose. These were pinned then sewn for a tight fit. The excess material was trimmed off.
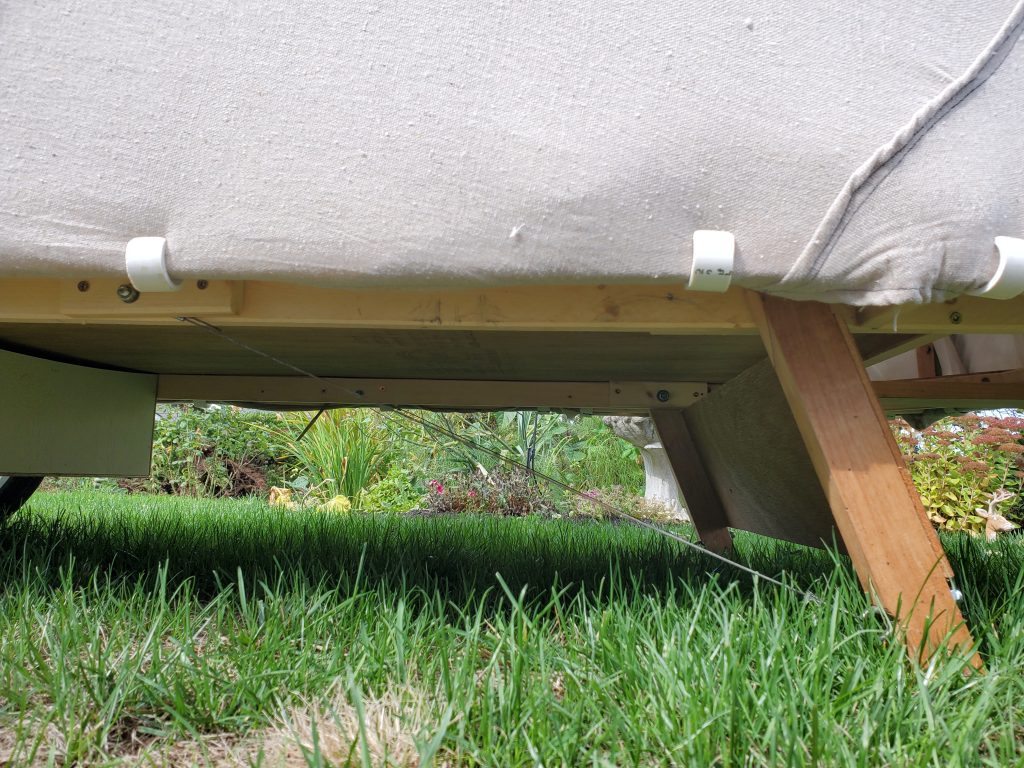
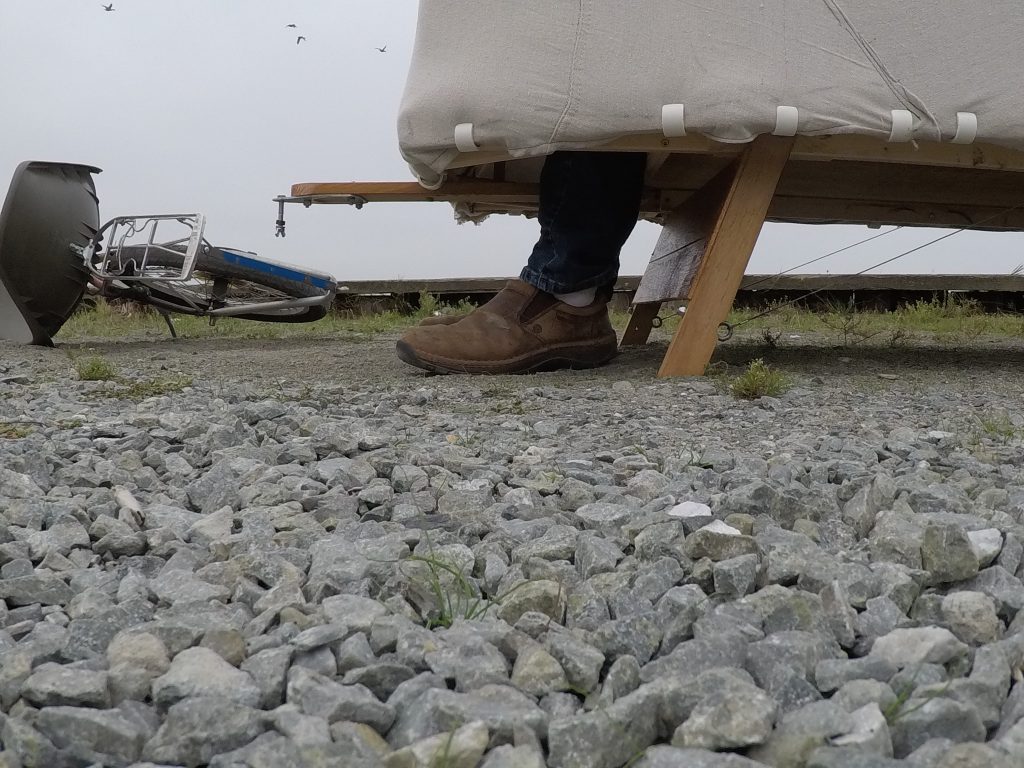
I wanted to have the cover removable. These simple light weight clamps are made with PVC tubing. The clamp tips were well sanded to keep from ripping the material.
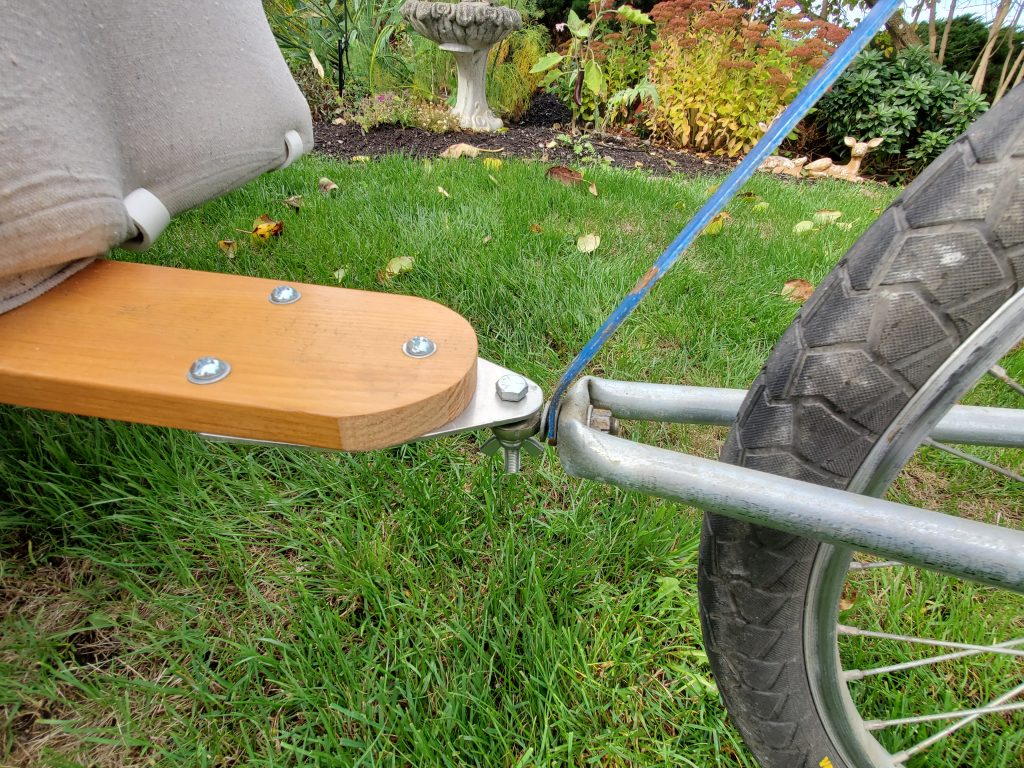
The tow hitch tubing is made from 1/2″ electrical conduit. Cheap yet effective. I use a lock nut on the ball joint so it would pivot when laying the bike down flat.
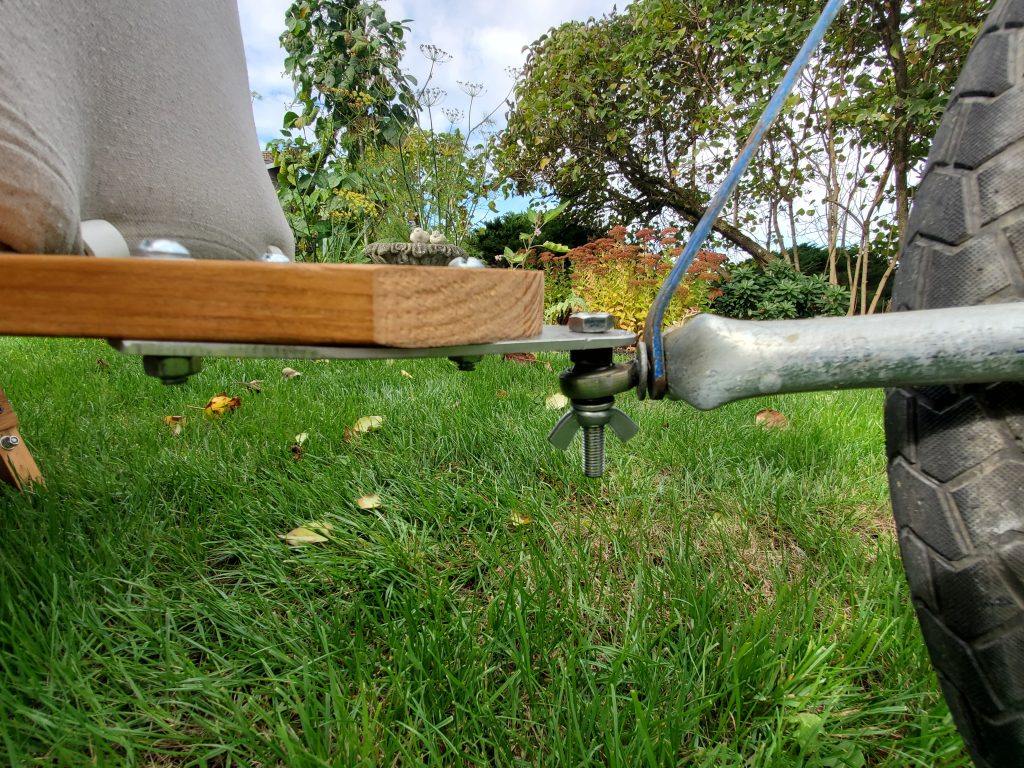
For the hitch plate I used thick aluminum plate. A 3/8″ high spacer between the ball joint and plate allows plenty of free movement when traveling.
The inside liner material and Polyester fill from a Queen size bed comforter were used as an insulating material. I should have looked for lambs wool.
As an Artis I so want to paint this thing! It’s a huge canvas waiting for creative expression!
Some day…
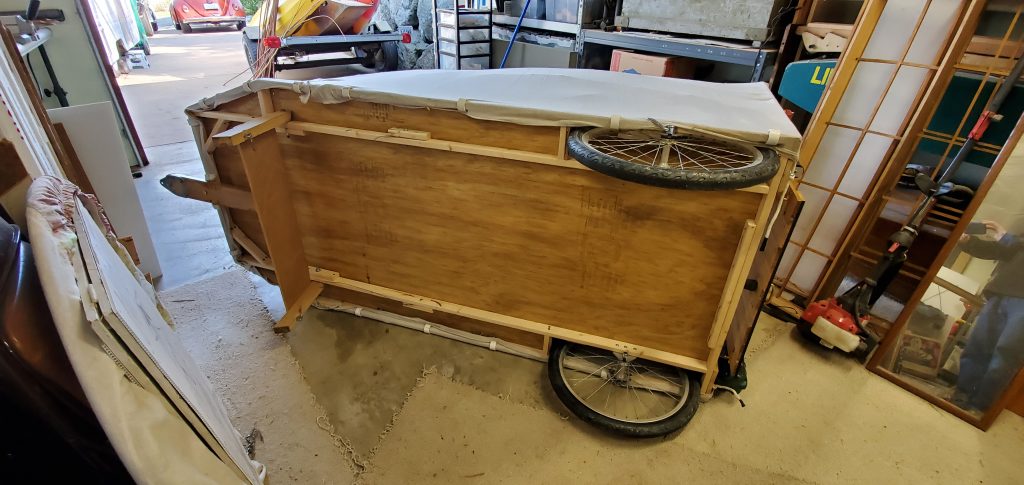
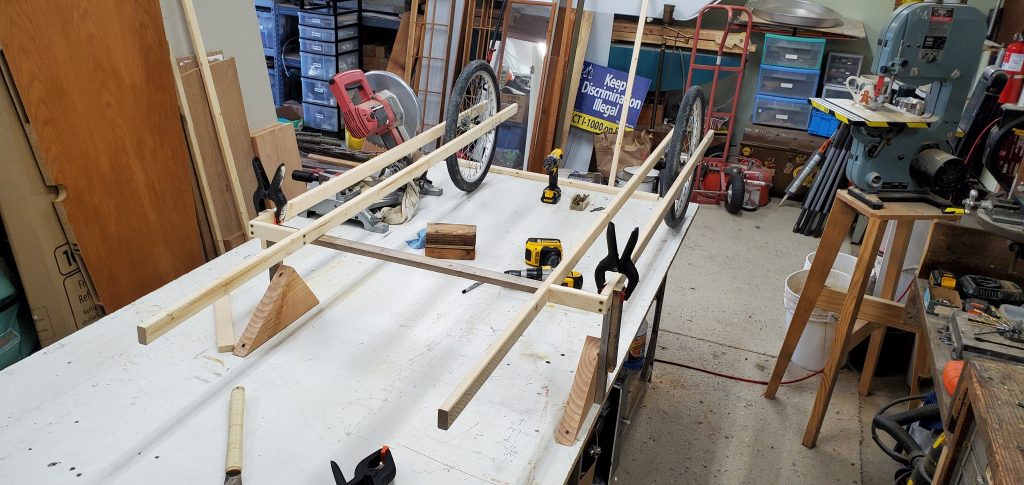
Here’s a shot of the bottom frame work, and a view of the front supports.
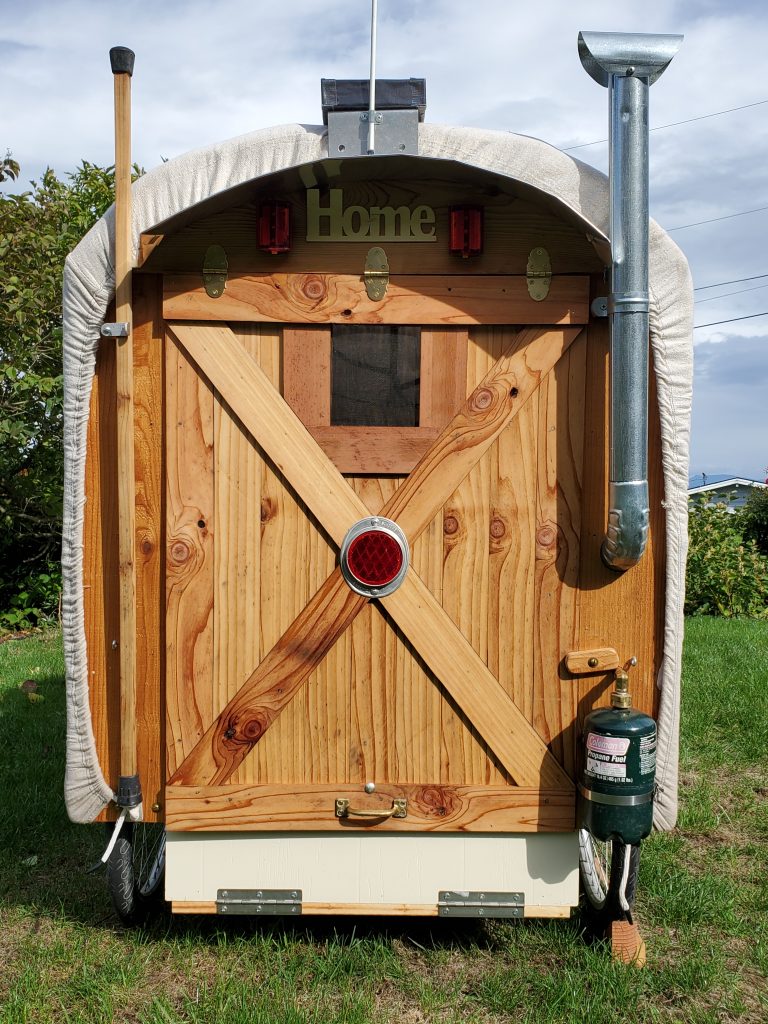

I do love the rear end of this rig! The boards are about 3/8″ thick, milled down on my table saw from an old thick board that came from my 60 year old home. The stick on the left help support the door.
Here too you can see the propane bottle attached with a big hose clamp.
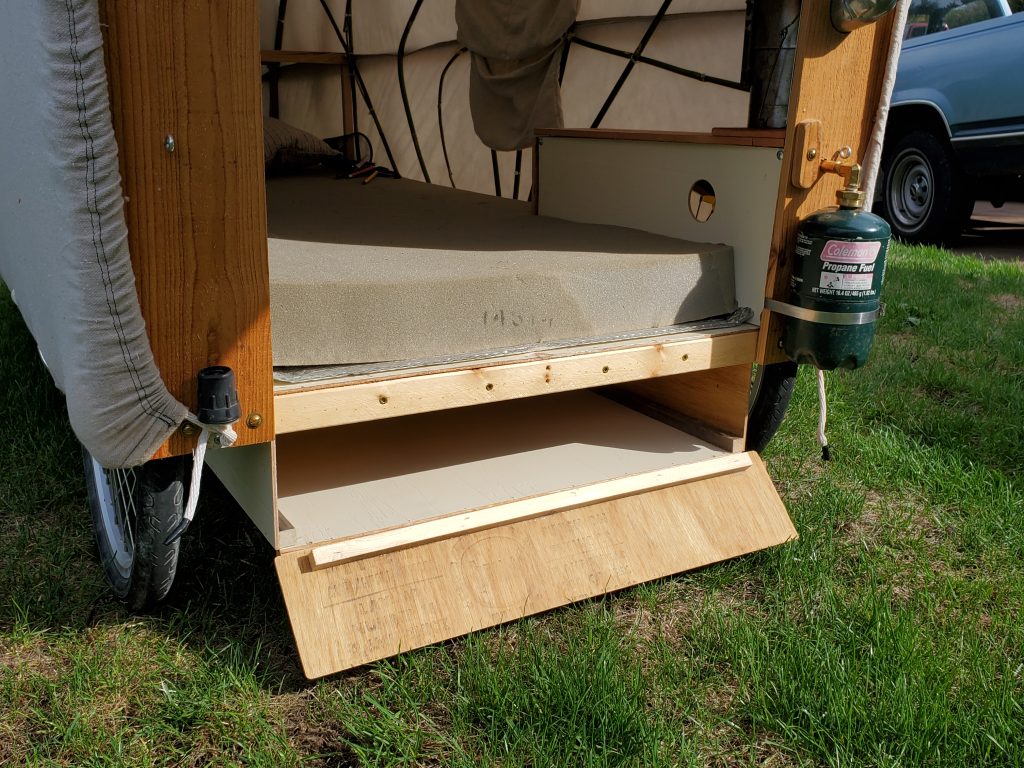
The storage box made from paneling is 24″ wide by 28″ deep by 4″ high. About 1.5 cubic feet of storage. Not much but well located for heavy items.
Two slide locks were attached on each side of the door bottom, which keeps it shut tight when leaning against the door.
The wheel well counter tops (and arm rests) are made of the same cedar material as the door.
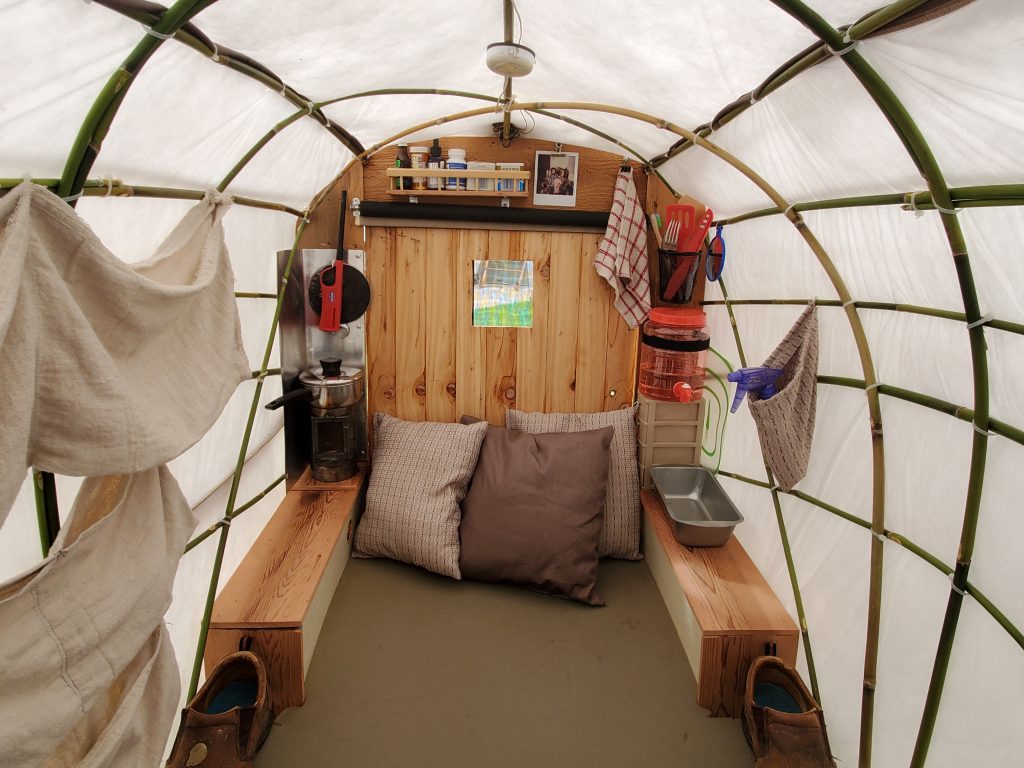
I sewed up a few pillows from the comforter left-overs. This way I can sit comfortably while watching a movie on the computer that sits on the desk.
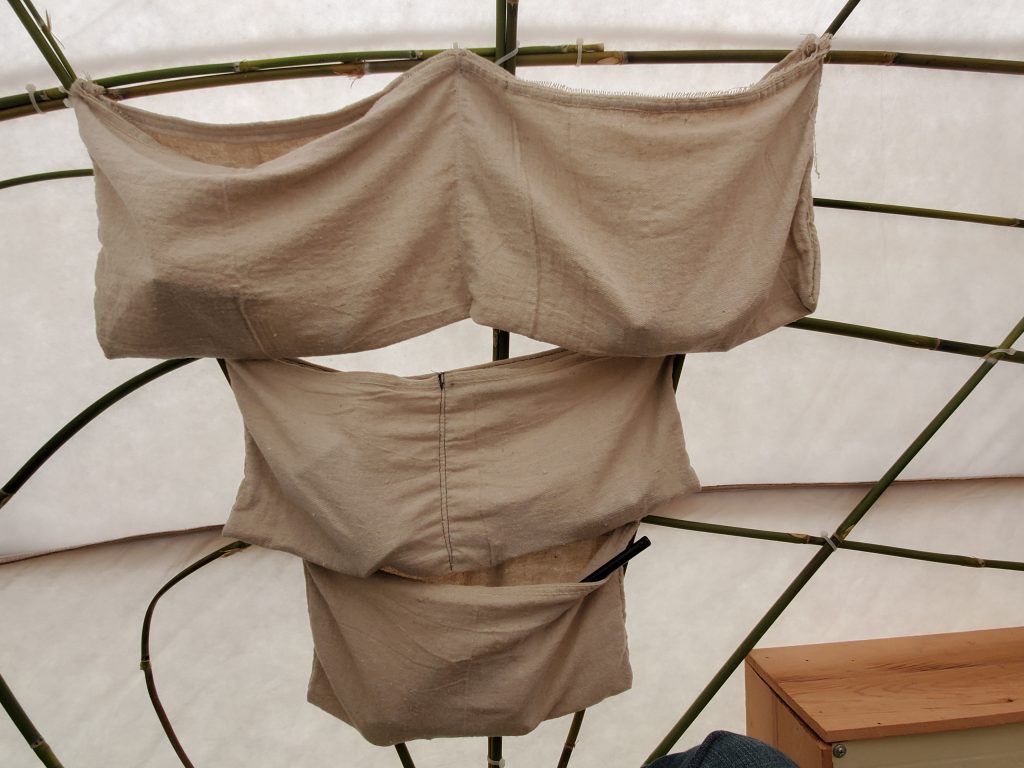
To make it possible to turn around in the camper, I purposely created storage space that would hang from the walls. These pockets are (of course) made with the leftover canvas.
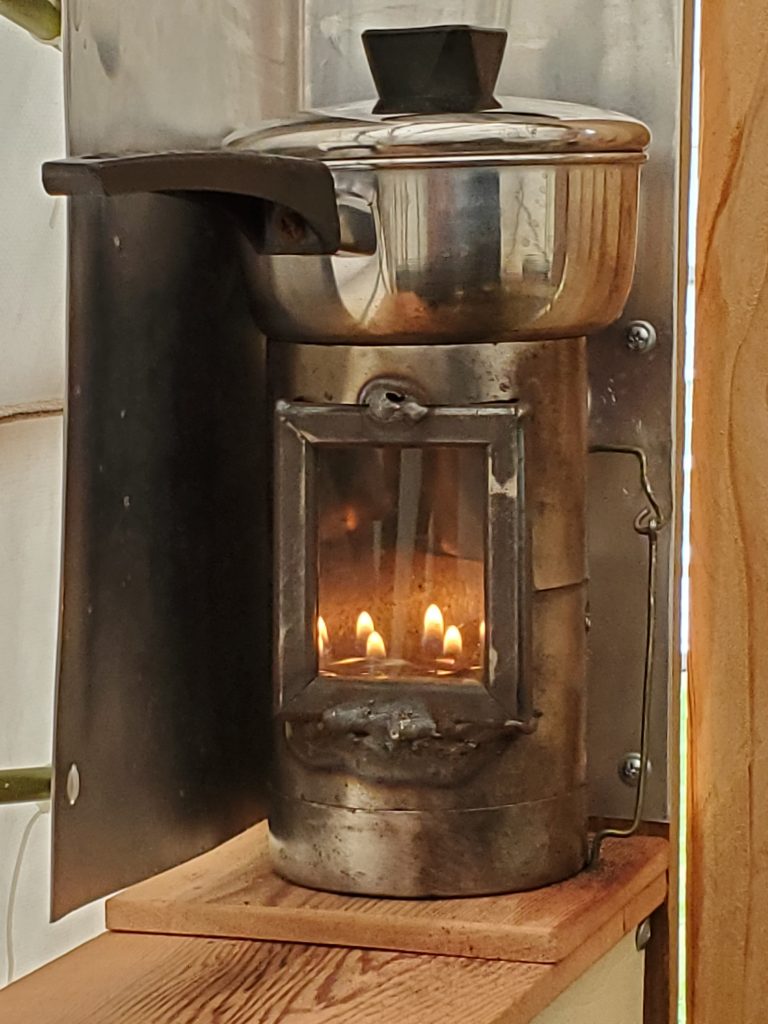
This DIY stove/heater was something I wanted for a long time. I always wanted a fire to look at during the night, and a way to heat the camper during cold weather. WARNING: This stove is still a work in progress.
I had a 2″ by 3″ fire-proof glass pane cut for this stove. It sets in the grooved (4″ angle grinder with cut-off wheel) 1/2″ square tubing frame. This was welded together at the joints then a hole was cut in an old propane bottle (same as the one on the rear) and welded in place. It was a tricky weld. Not that good to be truthful.
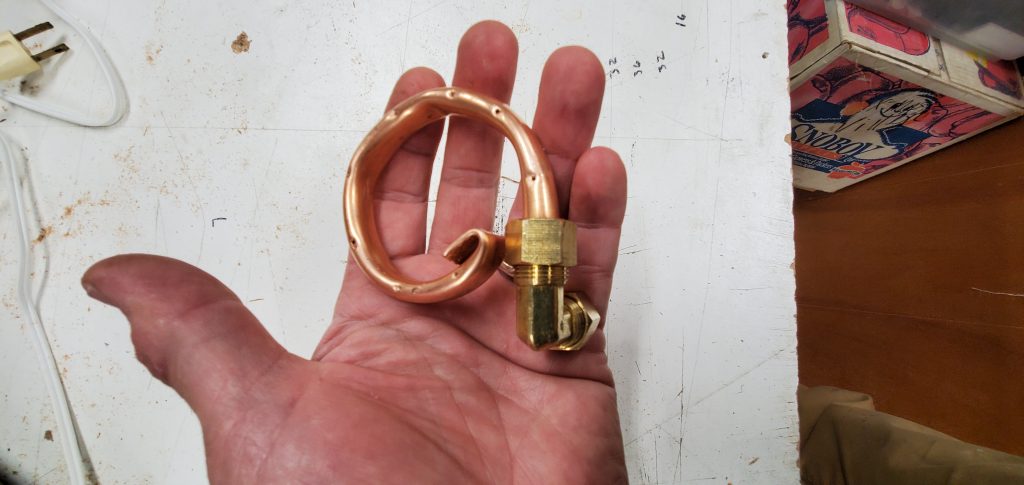
I made up this coil from a 3/8″ copper tubing wrapped around a round pipe.
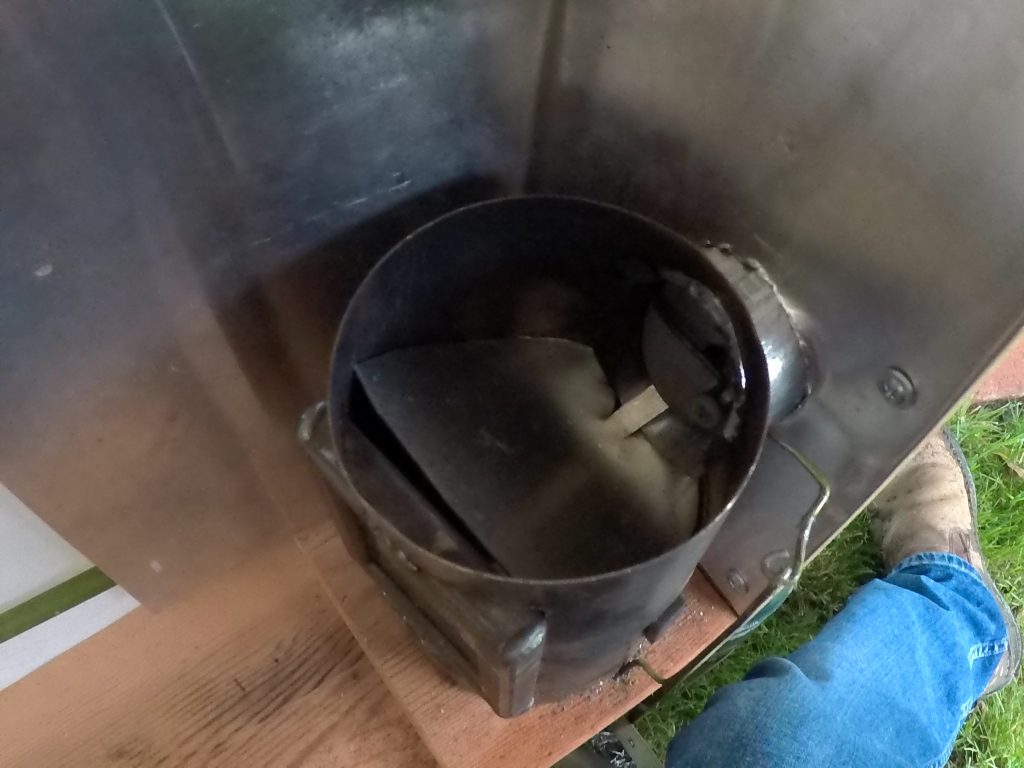
An aluminum baffle was added to help route the heat along the top instead of going straight out the 2″ diameter steel drain pipe.
You might be able to see the flue flap as well. The clothes hanger on the side adjusts the flap.
![]()
Along with adding a pressure regulator and a heavy duty On-Off valve for minute control, a magnet on the side of the stove closes the hole that’s used to light the burner.
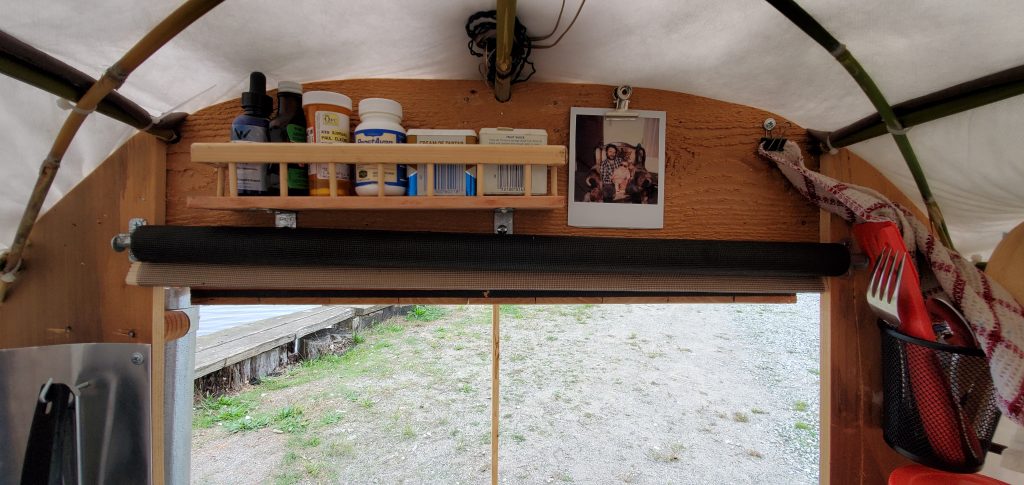
Here’s a shot of the spice rack and bug screen.
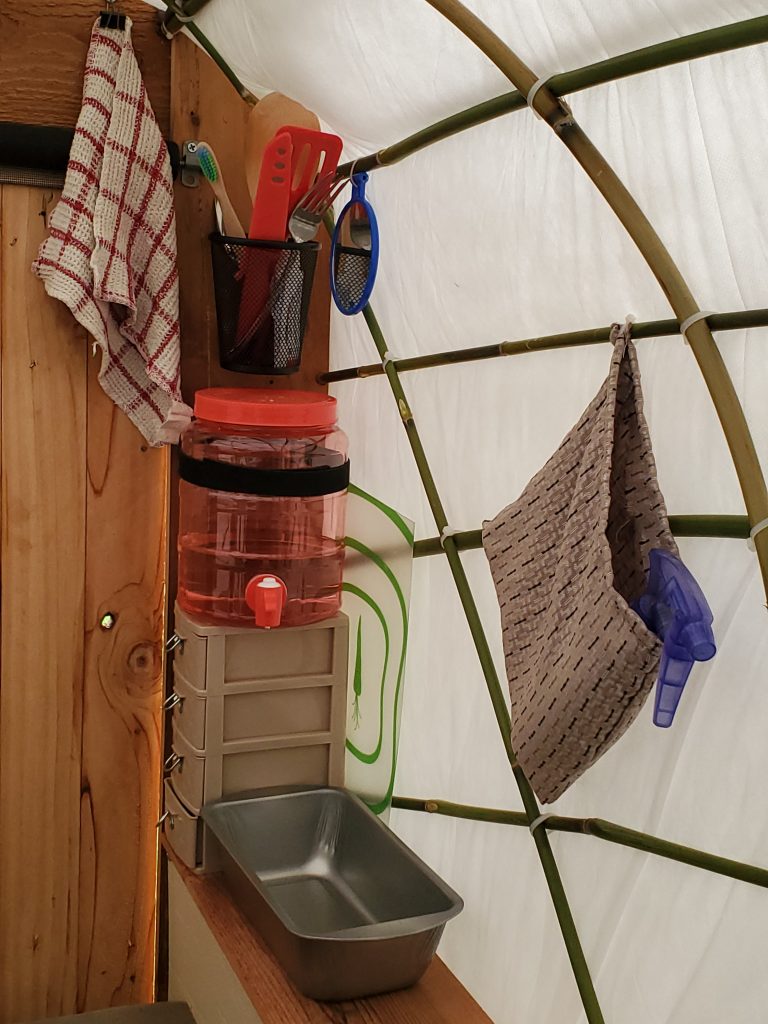
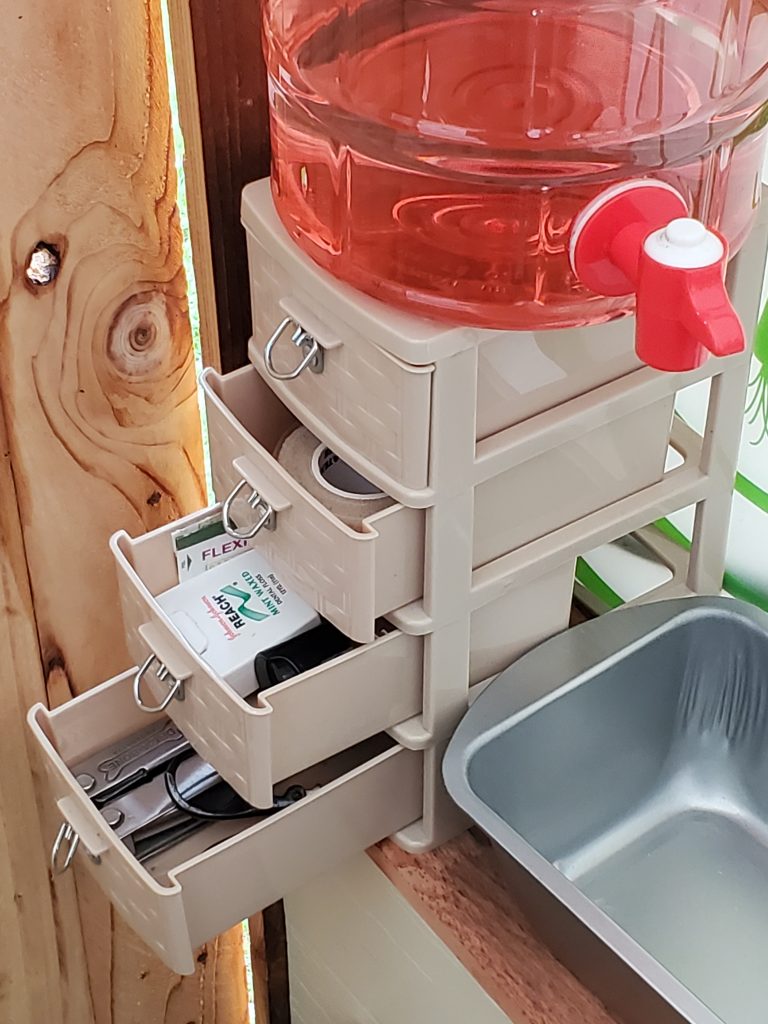
These are some dollar store items I picked up. The bread pan, water jug, storage drawers and utensils were each a buck. I riveted on these picture hangers for drawer pulls. I chose the bread pan for a sink. Easy to empty and move when not in use.
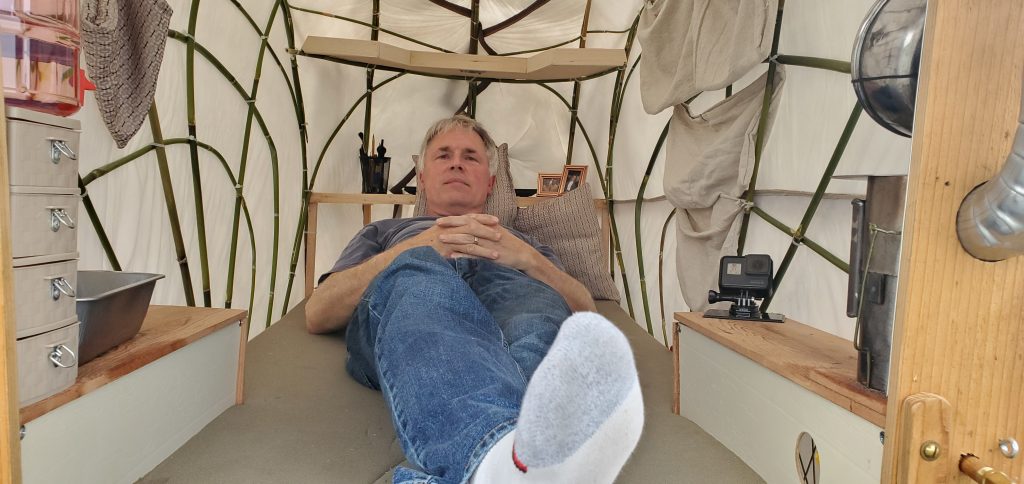
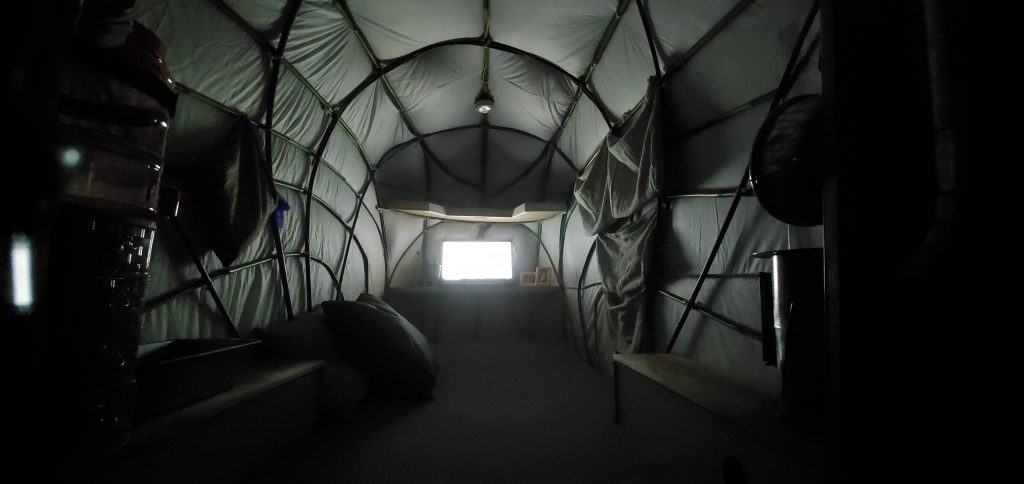
In this camper you can sleep with your head at either end. Although somewhat claustrophobic, I like having the foot hatch open and sleeping with my head under the desk. I like to have elbow room and fresh air, and it cuts down on condensation build-up.
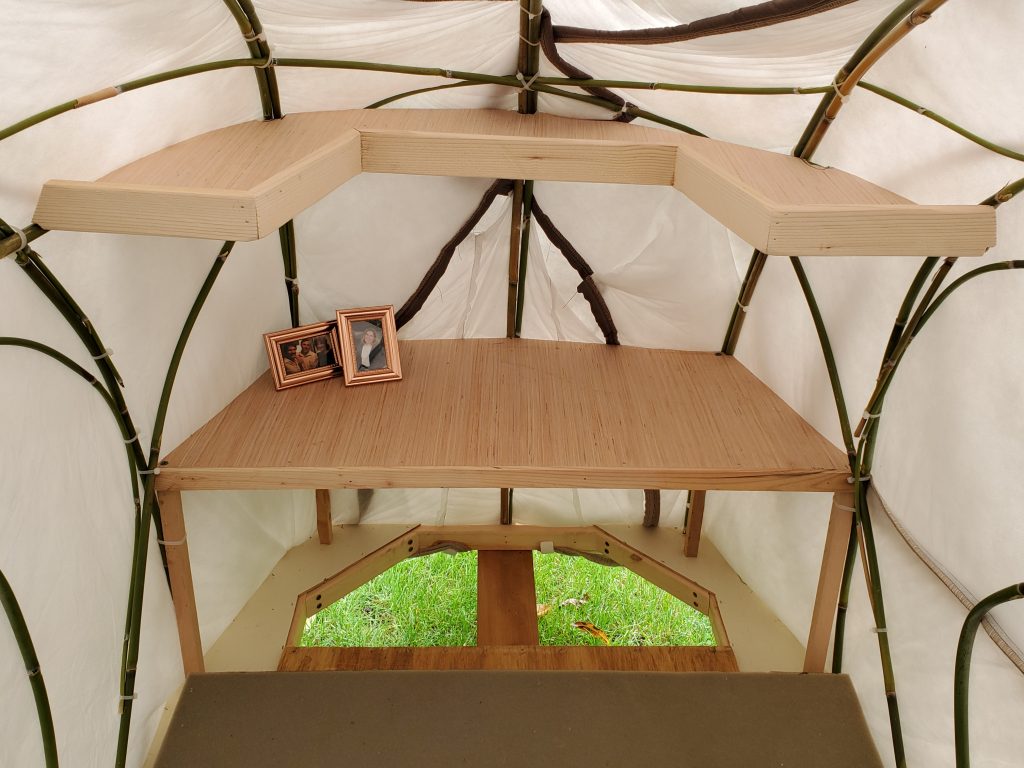
The cut-out in the upper shelf is so you can lean in without getting bonked in the forehead. Plus you can lean against the desk edge and have head room.

This hatch really helps from having to be scrunched up when working at the desk. Plus it works for cross ventilation.
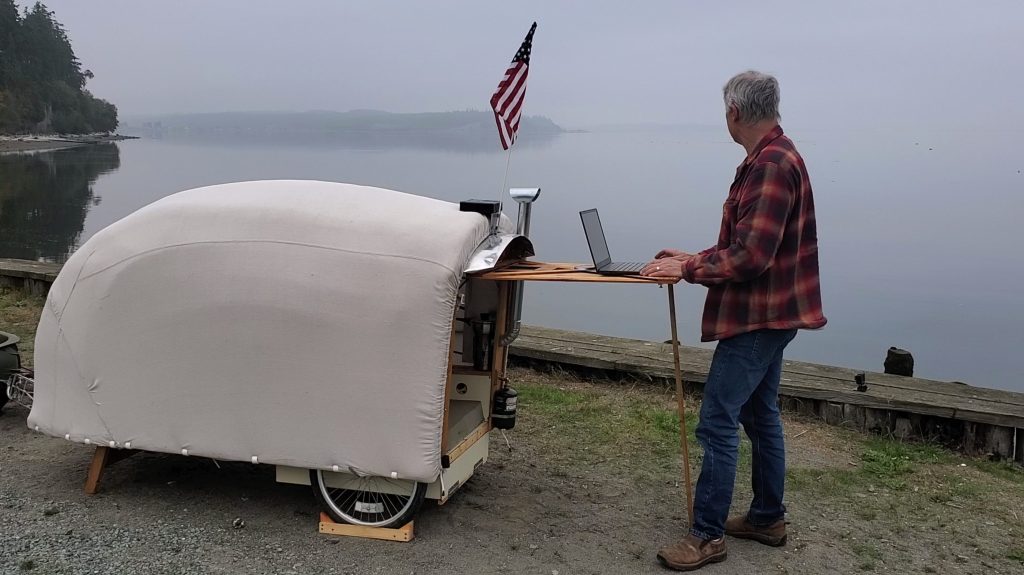
You can also utilize the door as a sun shade or an outside stand-up desk. WHY NOT!
Watching movie mode.
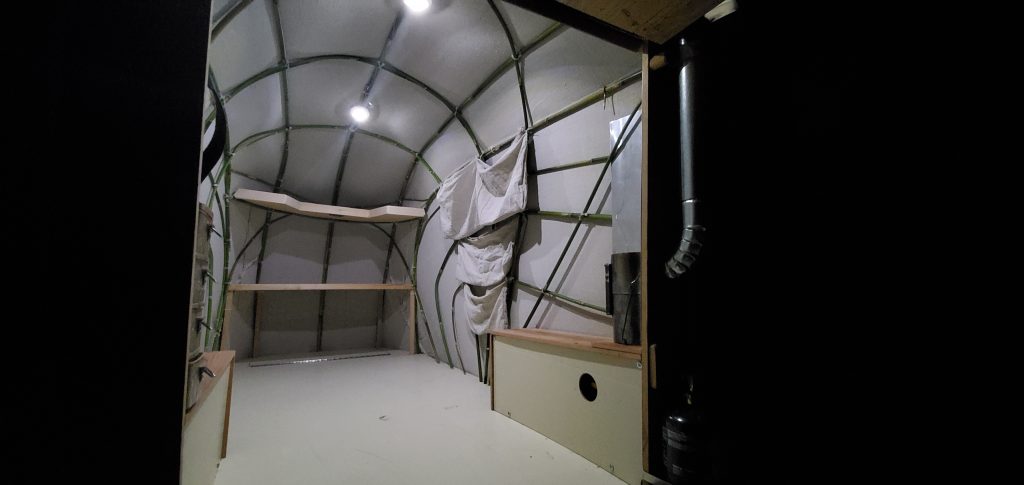
These are spot style lights that work off three triple A batteries. I have them hooked up to the solar panel below.

The DIY solar panel which consists of four chargers from seperate solar Christmas tree string lights each charges a double A battery.
These were taped up tightly in a custom cedar box with Gorilla tape. They run in series creating about 4.8 Volts, enough to power the two inside lights.