For PDF plans, click here!
I had just gone through a divorce and was wanting to make something that would get my mind off my problems and get me on the nearby lakes.
I studied some boat building books and made some drawings. My goal was to keep the material costs under $100.
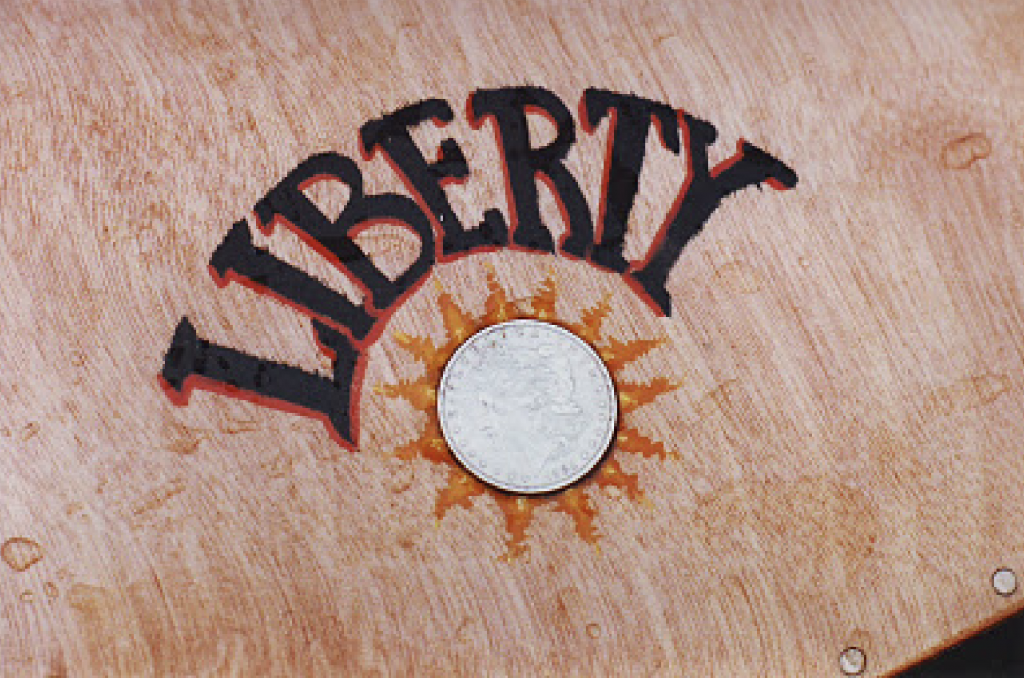
I found a coin that my Grandpa (Pavo) gave me years ago.
Living in Croatia, as a child his parents were so poor he was farmed out to a sheep farm. At age 14 his older brother who had moved to America mailed him money to purchase a ticket.
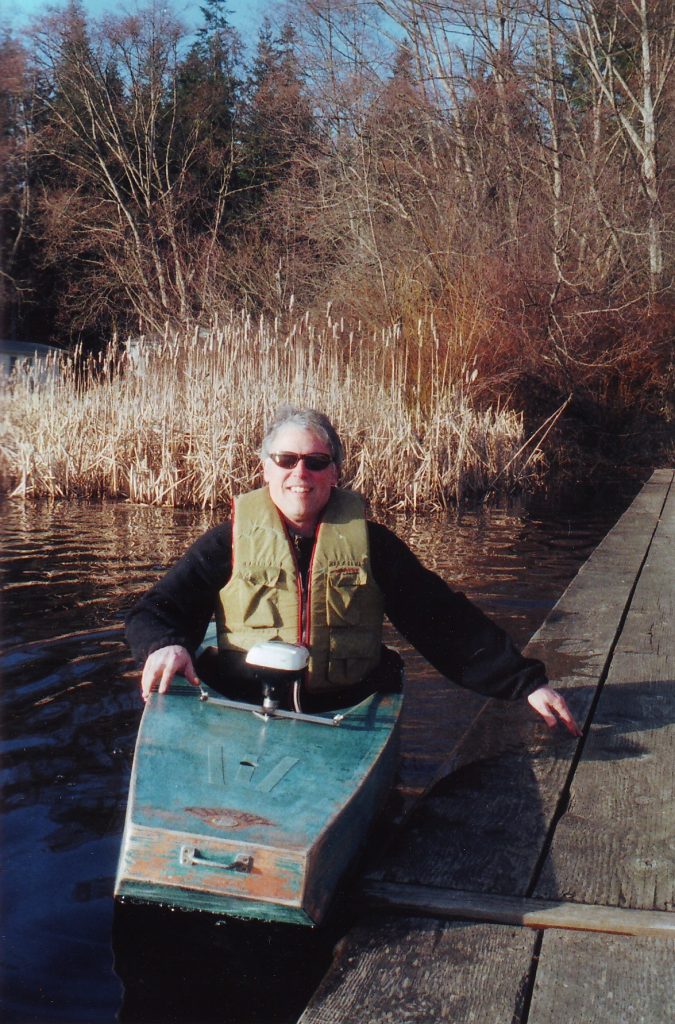
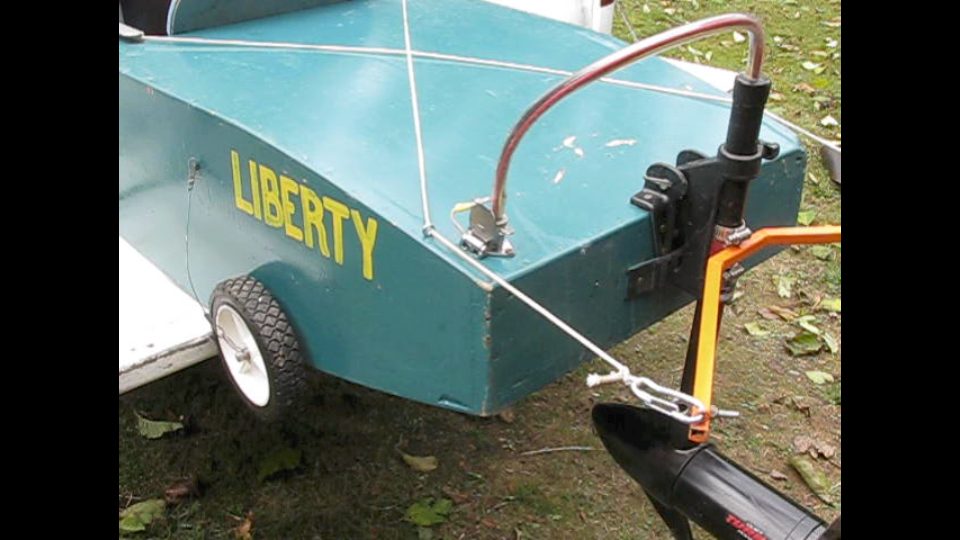
I named the boat Liberty, in honor of my Grandpa and what this country use to stand for.
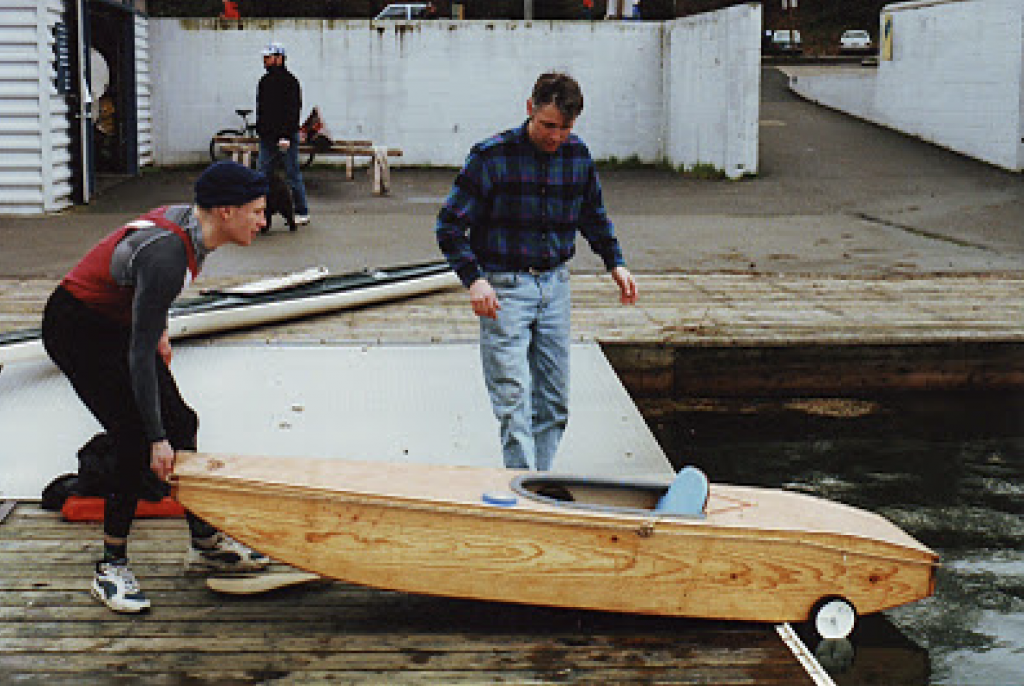
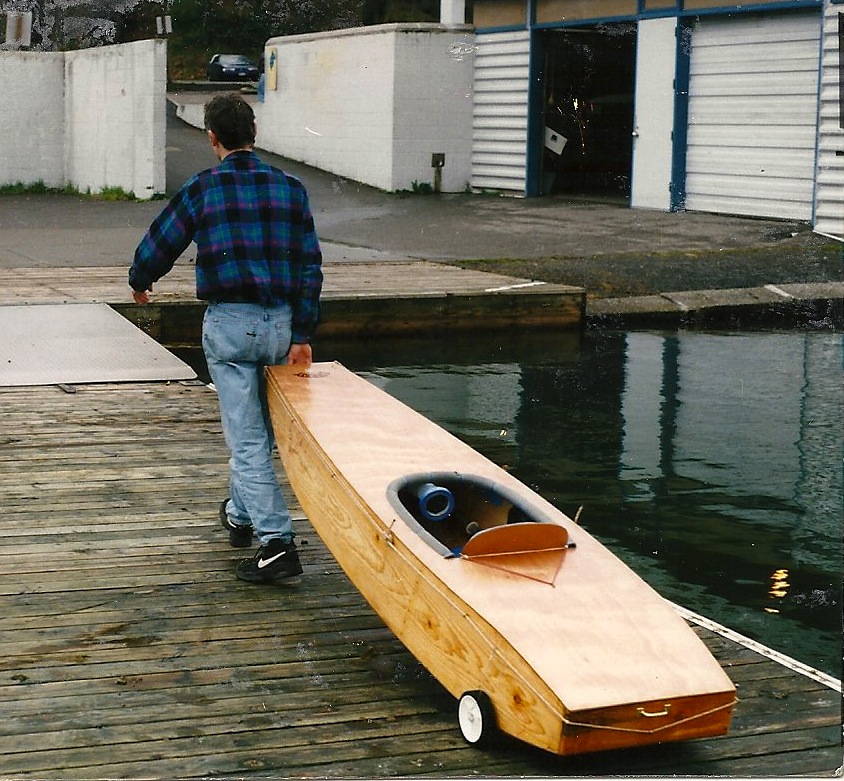
This was the launch of my first wooden boat. It cost me about $100 for materials.
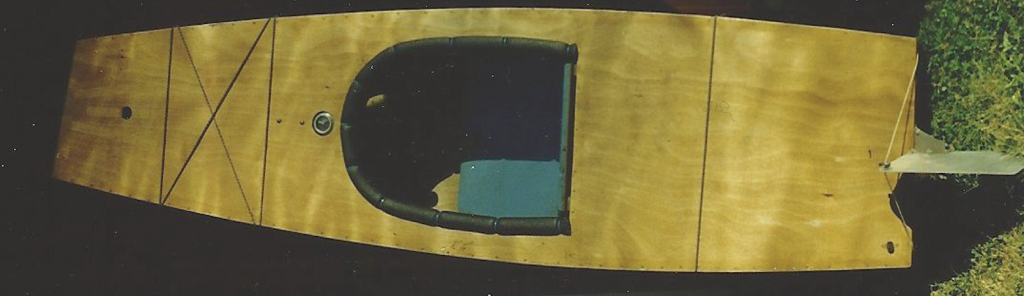
Pine boards were used for the sides. A sheet of marine plywood was used for the top and bottom.
To assembly everything I used bronze ring-shank nails and marine glue on the joining surfaces. I covered the outside of the boat with two part marine epoxy.
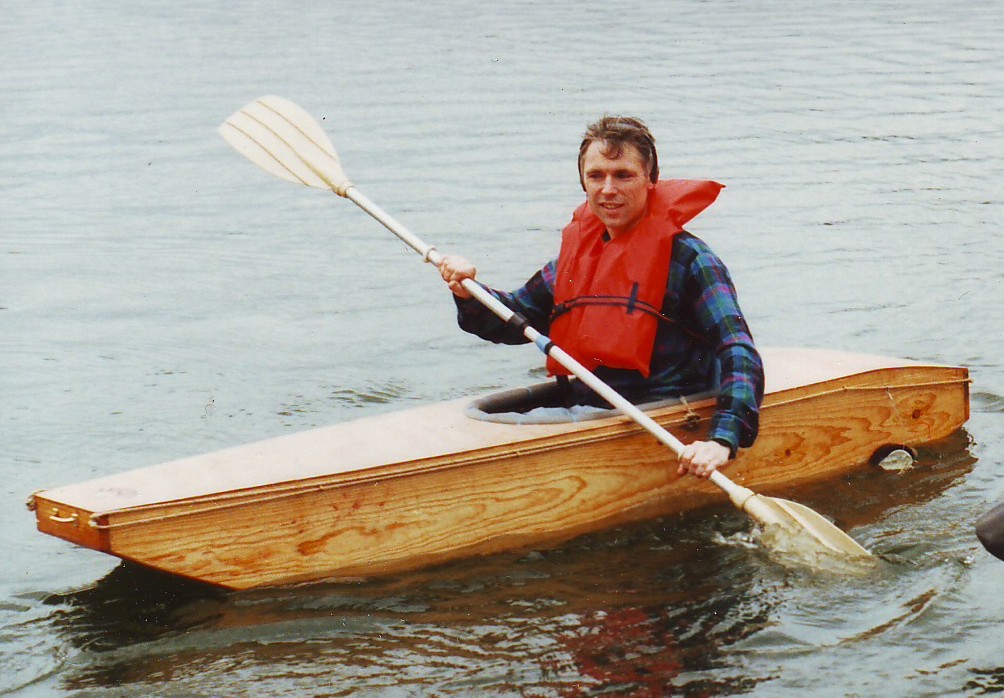
I had a lot of fun adventures with this boat.
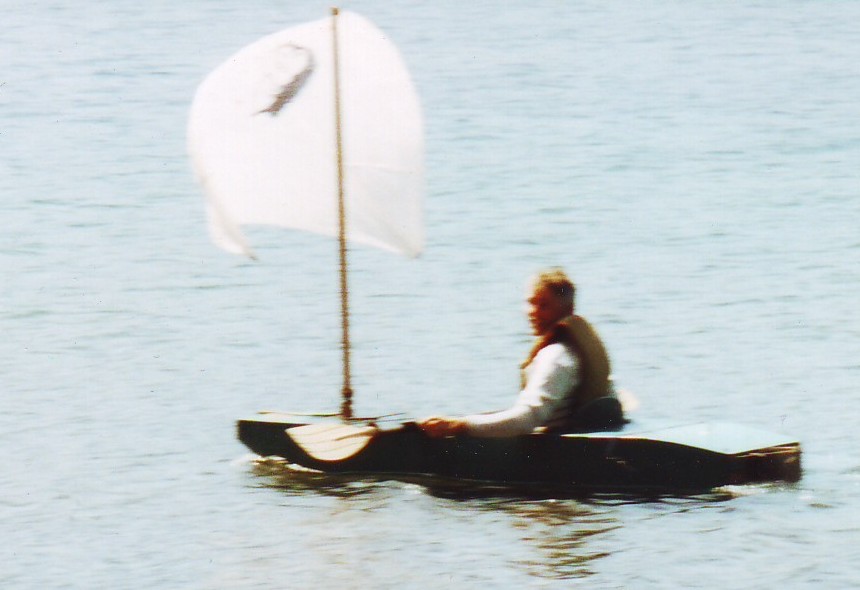
Later, I purchased some light-weight Marine nylon and stitched up a spinnaker sail. A 1-1/2″ diameter wood closet rod was used for the mast.
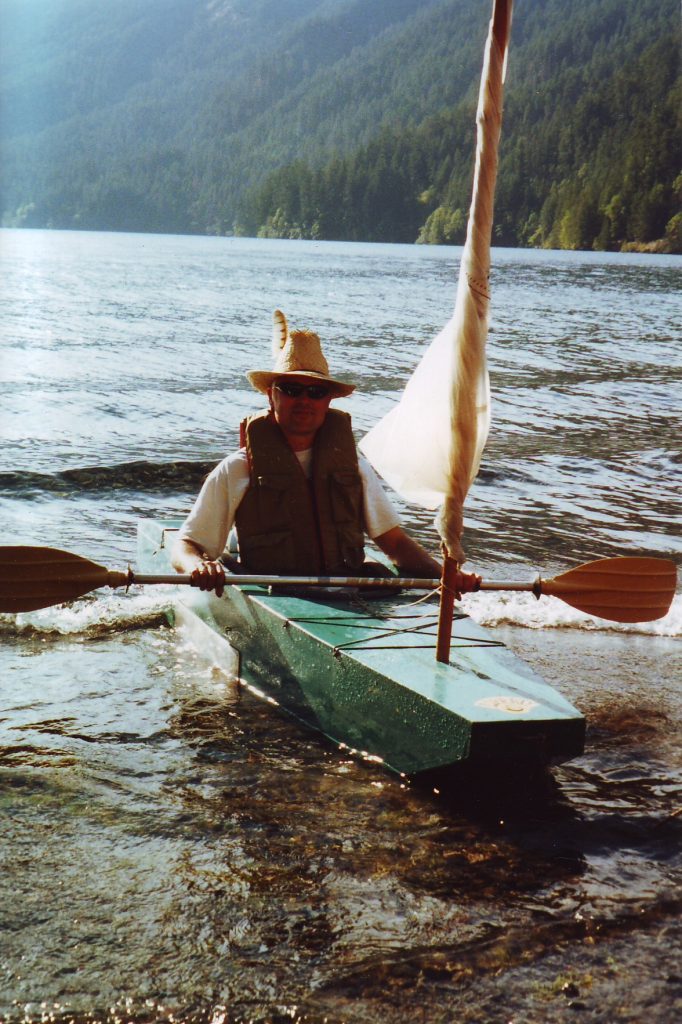
Because of the pine boards I was able to easily attach an aluminum dagger board to the side.
A tiller arm and nylon lines ran to the back which operated an aluminum kick-up steering rudder I made.
Later I added a small trolling motor (no pictures) and used my truck battery to putt around the neighboring lakes. It was slow going but fun.
After making a bigger electric boat I notice the Liberty boat was collecting dust. I eventually decided to do a motor upgrade on Liberty.
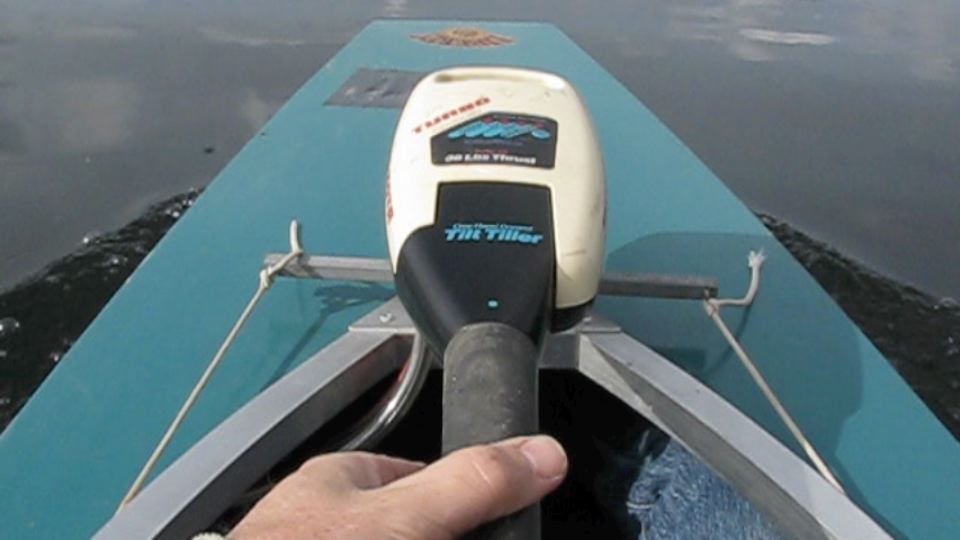
The control unit was left in tact and moved so I could control the steering and speed controls facing forward. Aluminum ‘L’ metal was added around the cockpit.
One day while heading to a lake, I saw the roof rack fly away in my rear view mirror with the Liberty boat and Little Miss Sally still strapped on.
I was going about 45 miles an hour. Other than some scratches and a few big dings they survived the tumble.
I slapped some epoxy in a few places and went sailing the next day.
For PDF plans, click here!