For PDF plans, click here!

The Nomad bicycle camper was fashioned after the Homeless emergency shelter using just the strength of the arced panels to hold the structure up.
This kept construction simple and kept the weight down to 60 pounds, loaded with foam pad, stove, and bins.
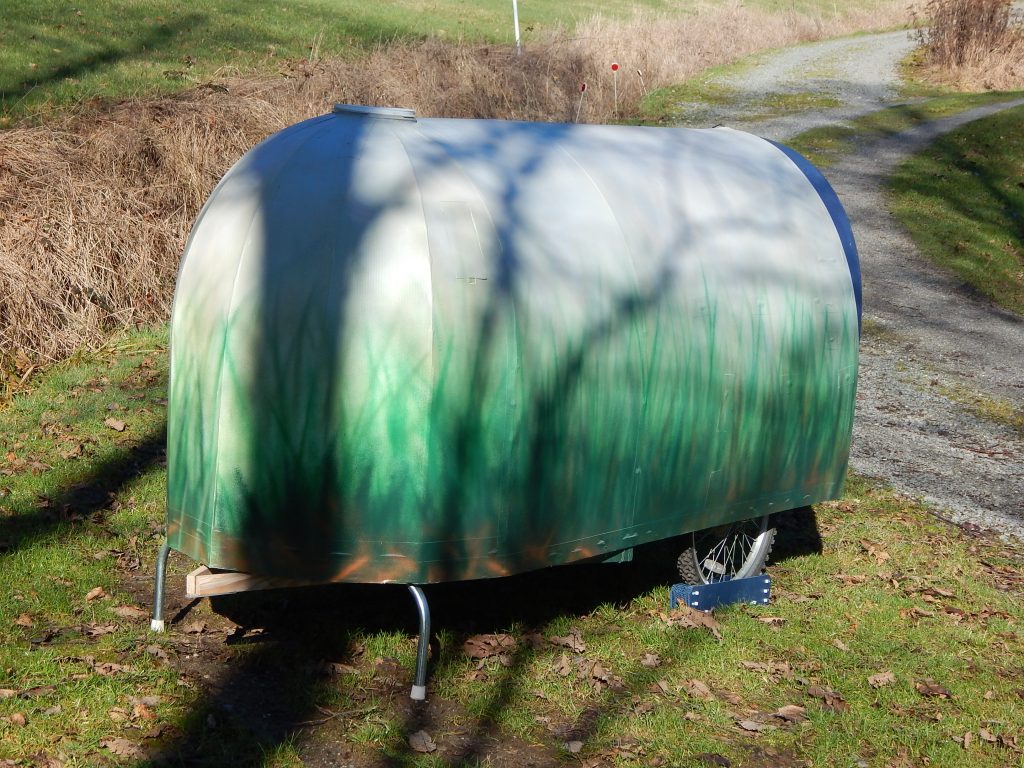
The front of the camper was rounded for better aerodynamics. Most of the fluted plastic used came from recycled campaign signs.
Painted with Krylon Fusion rattle-can spray paint (meant for plastic) this adds a nice custom finish and helps with UV protection.
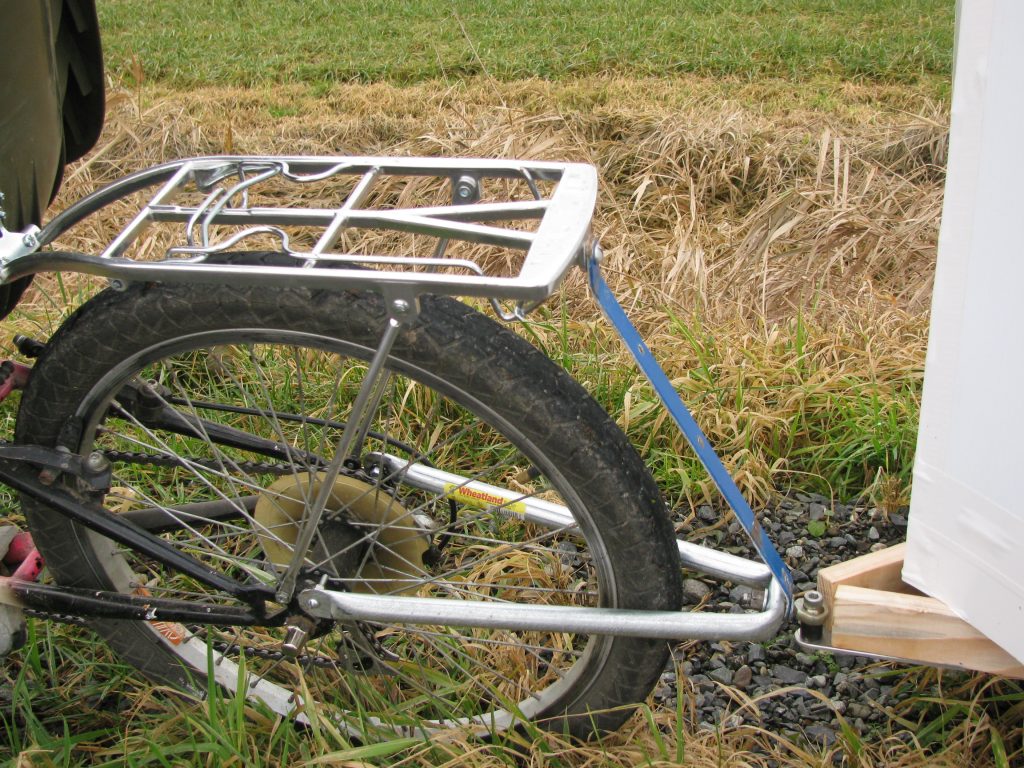
Including the $20 bicycle for wheels, 1×2″ wood for the frame, screws, tape, zip ties, insulation, paint and hardware, the total cost came to roughly $150.

Dirty shoes are stored at the entrance. The curved front wall is strong enough to lean up against.
.
Small plexiglass windows and a sky light was added to bring in more light.
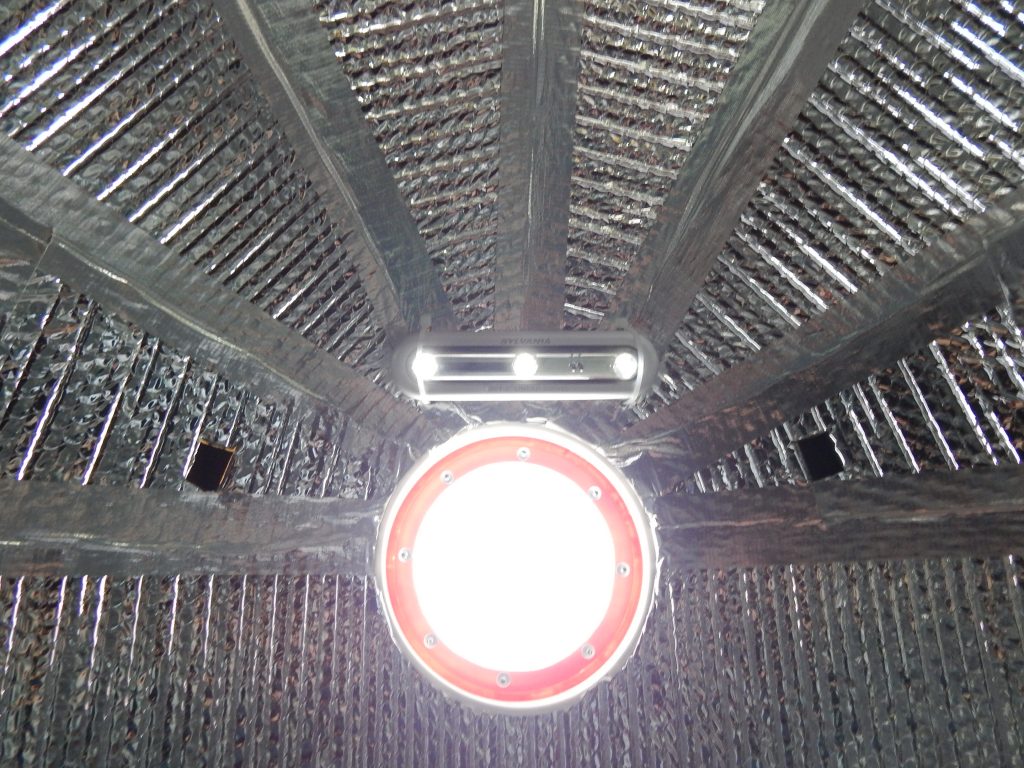
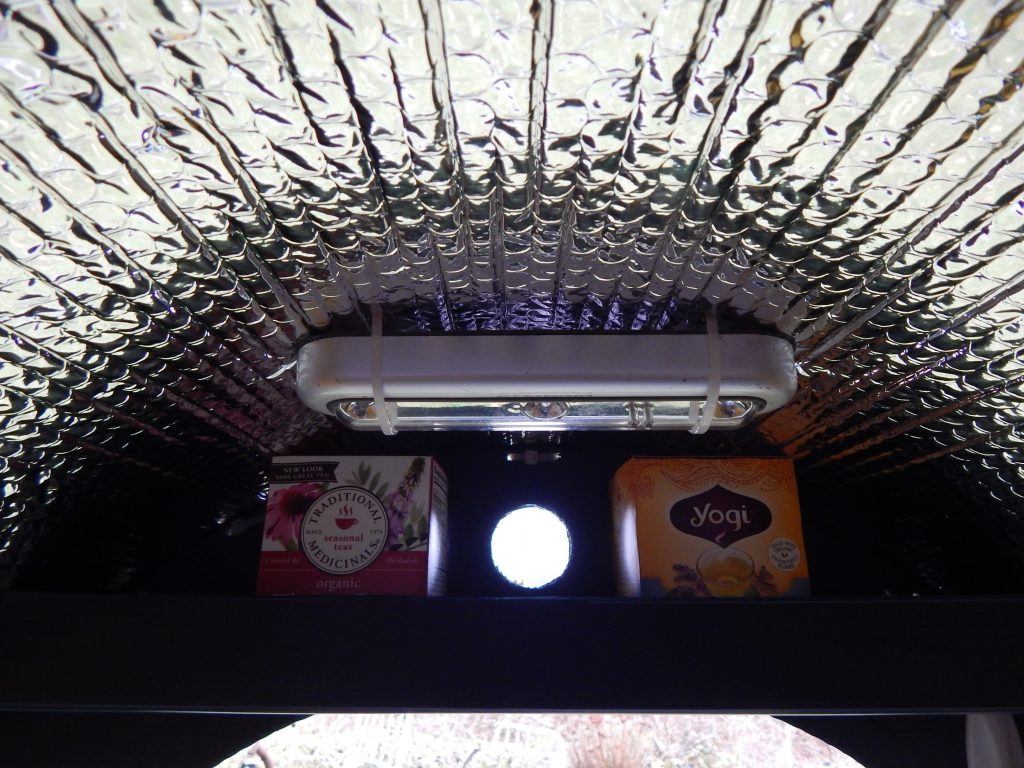
An LED light for reading. This one is touch activated and can swivel.
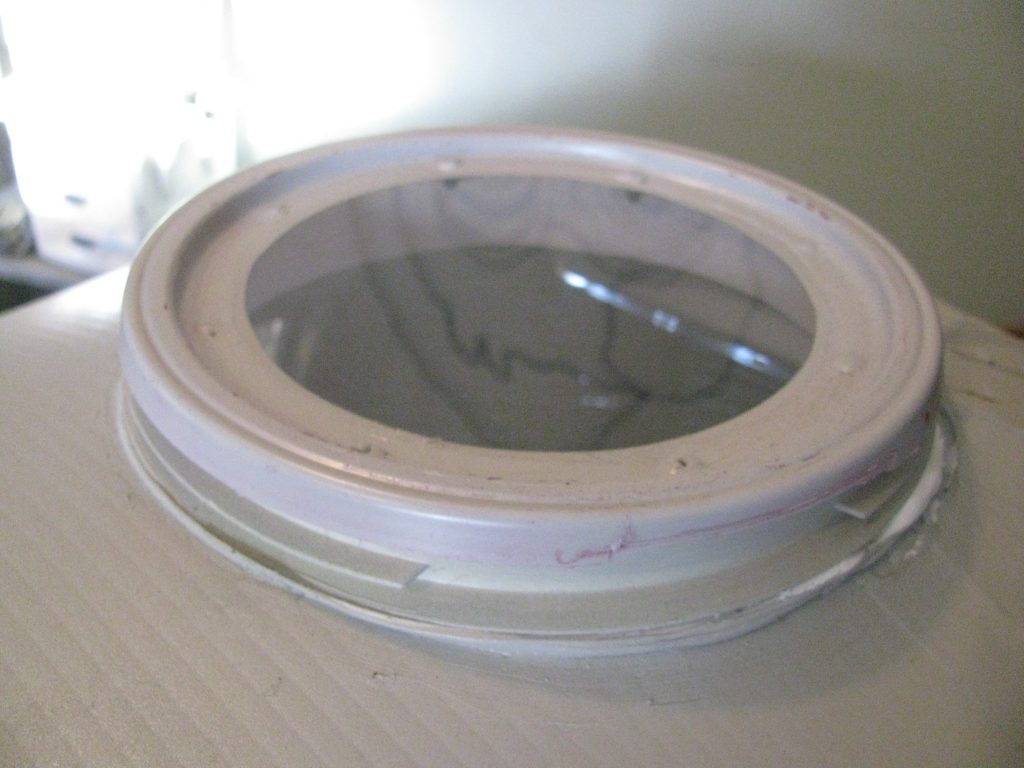
A one gallon bucket was used for the skylight. The center material was mostly cut out and a piece of plexiglass was pop riveted in place. It snaps shut and can be easily removed.
I wanted to get another lid and add a bug screen, but never got around to it.
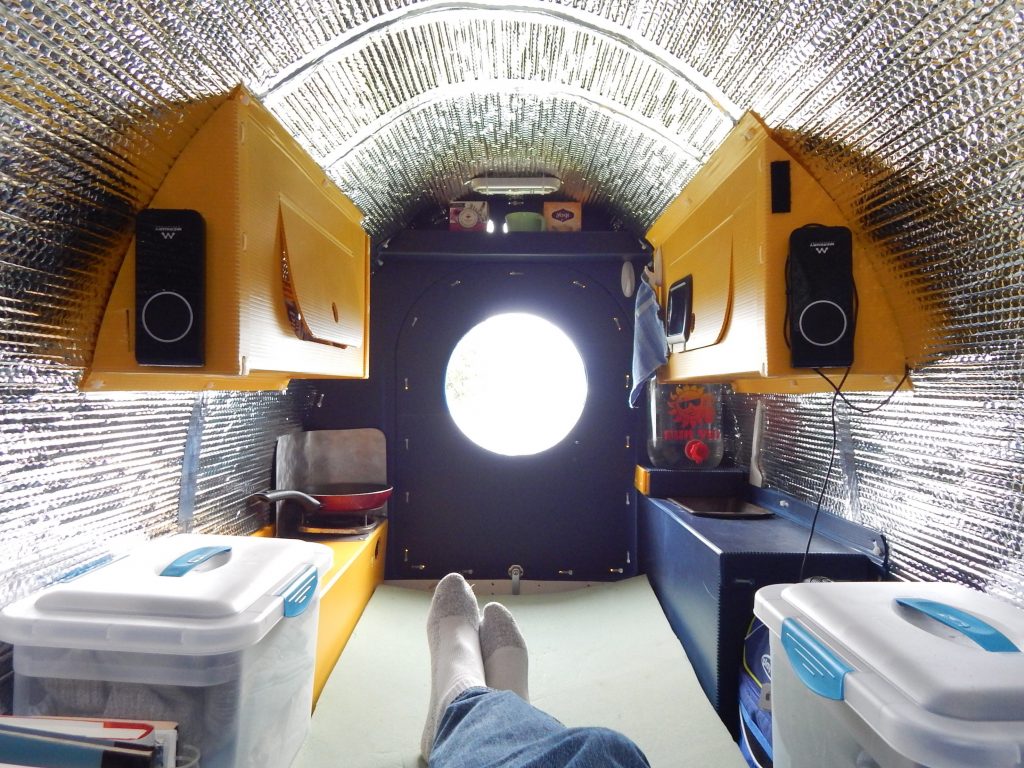
The upper cabinets were the same design used on my Homeless emergency shelter. I mounted small speakers for my MP3 player.
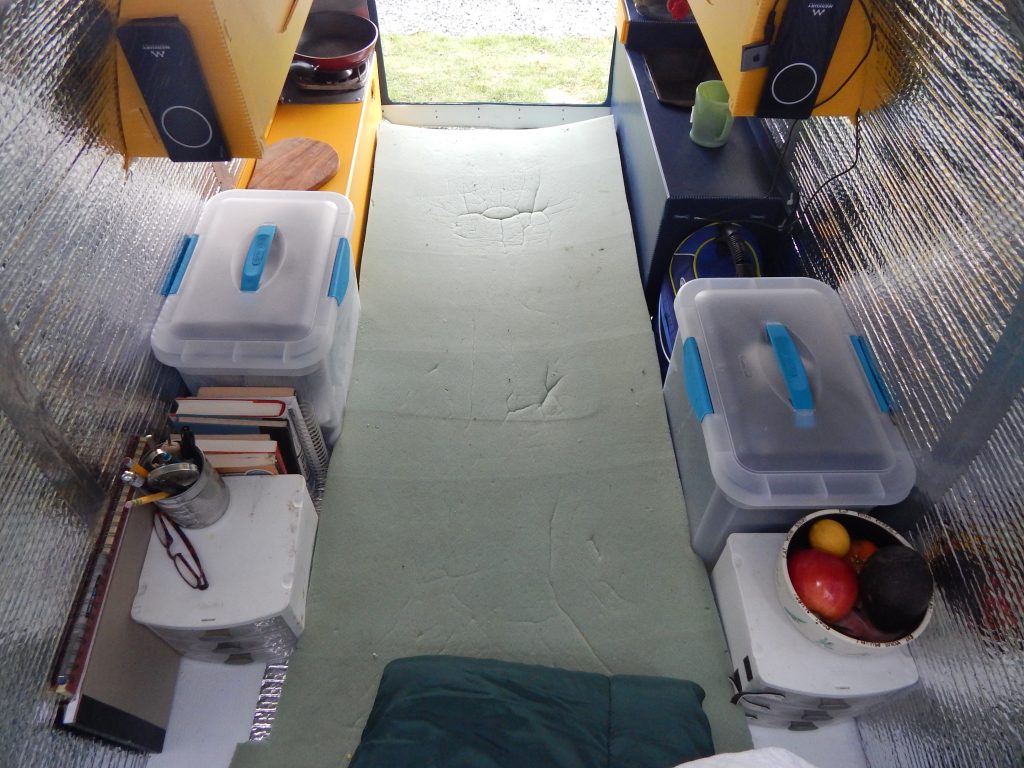
On the left we have storage drawers, books and supplies. When traveling the two clear cloth bins can be moved in between the wheel wells for better weight distribution.
A small cooler and more storage drawers are on the right.
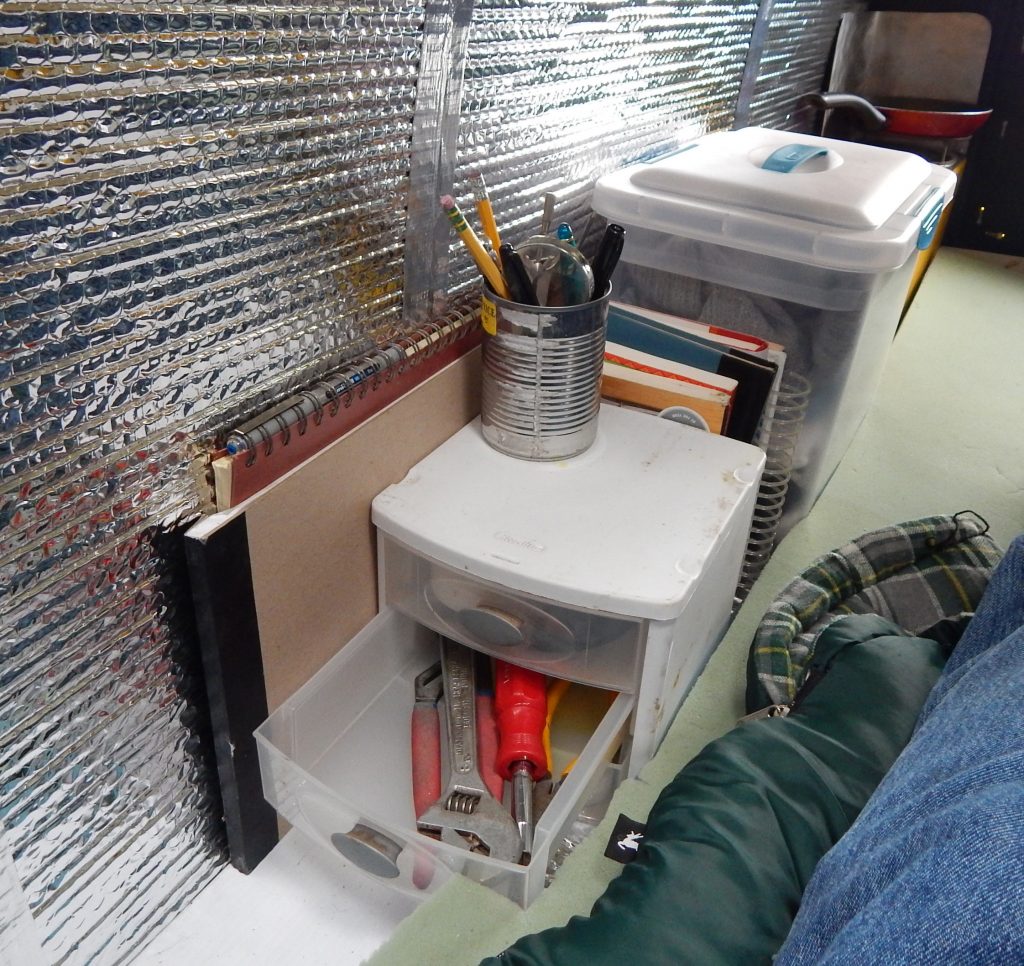
Ya gotta have a place for tools.
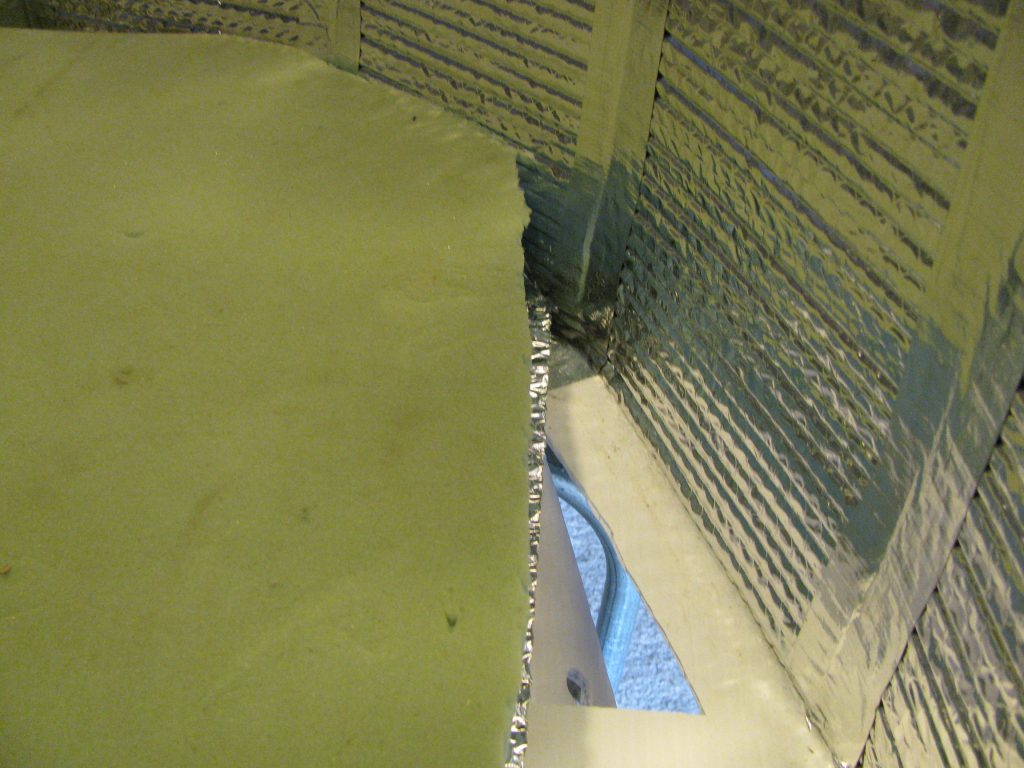
Fresh air vent flaps were added near where the occupant lies their head. This also helps with air circulation and helps keep condensation to a minimum.
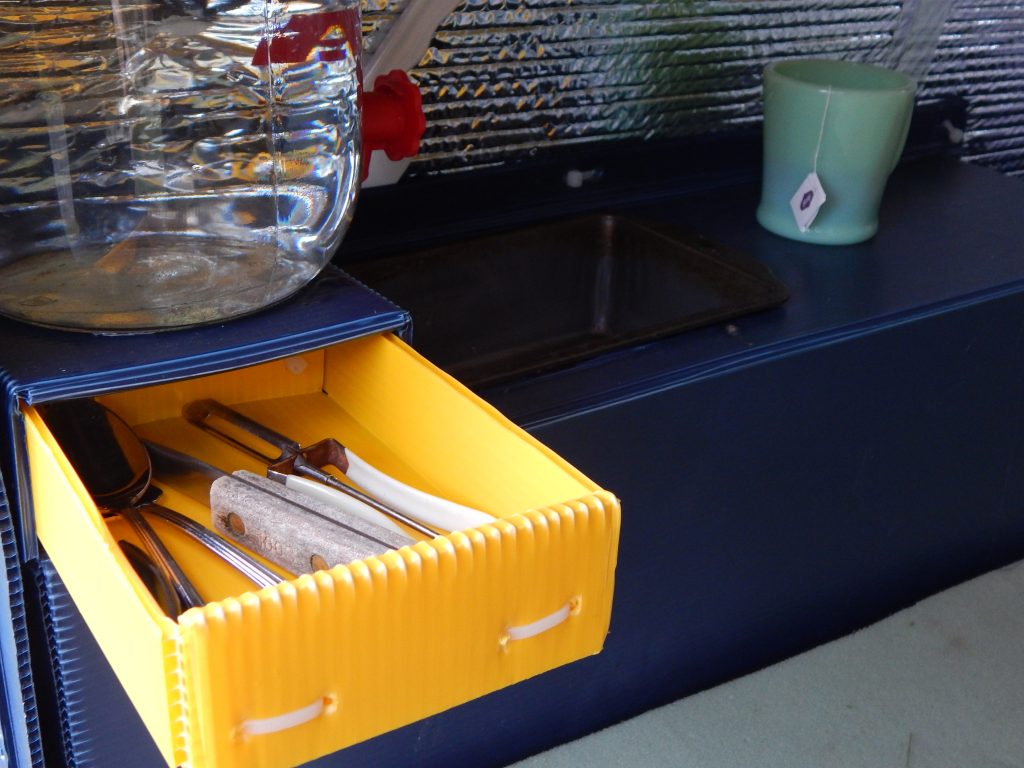
A one gallon glass water jug resides above the utensil drawer. The Baking pan sink is removed to reveal the trash can.
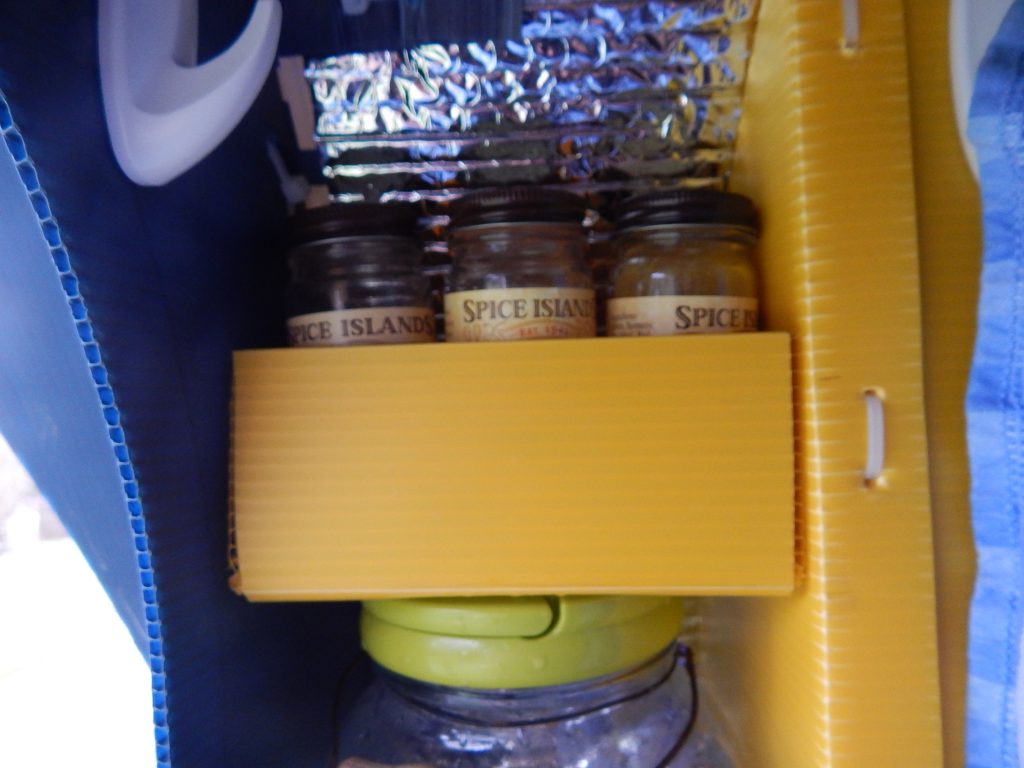
I was able to squeeze in a small shelf for spices above the water jug.
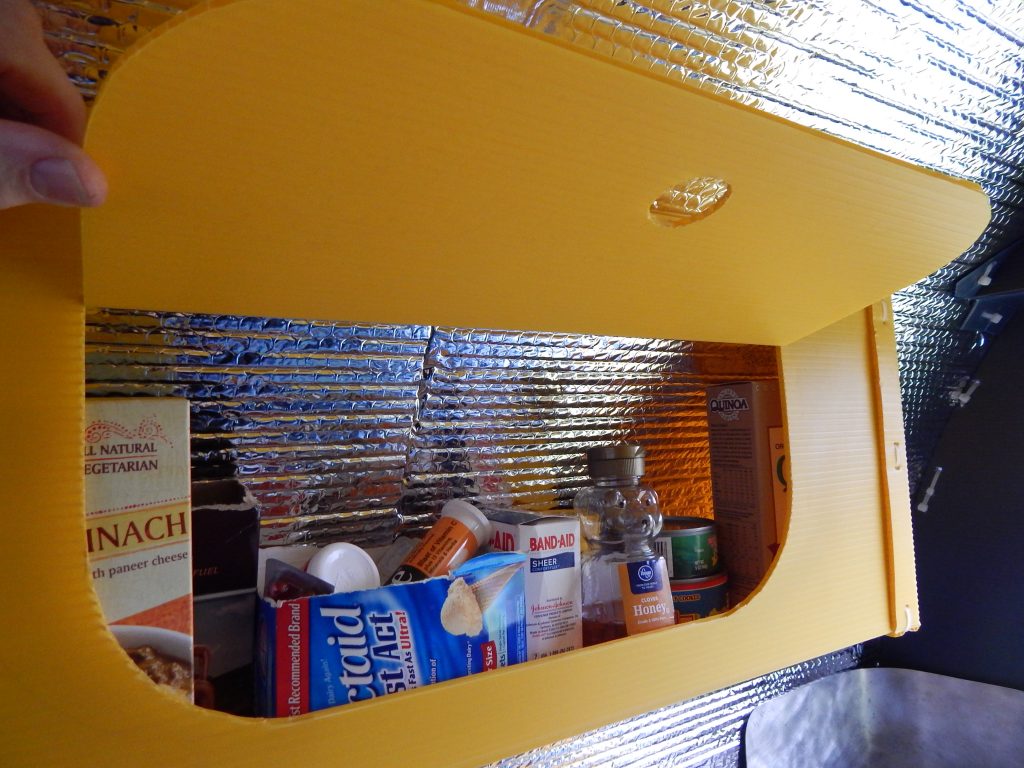
These simple fluted plastic storage cabinet doors lock in place when pushed in. They hold light weight goodies and help keep the foil backed bubble insulation in place.
It probably wasn’t a good idea to have a storage shelf where items can block the flow of fresh air coming thru the vent holes, but I added it anyway.
Shown too is one of the LED lights powered by several triple A batteries.
I wish they were powered by Double A’s as they sell small solar chargers that charge double A’s but not triple A’s.
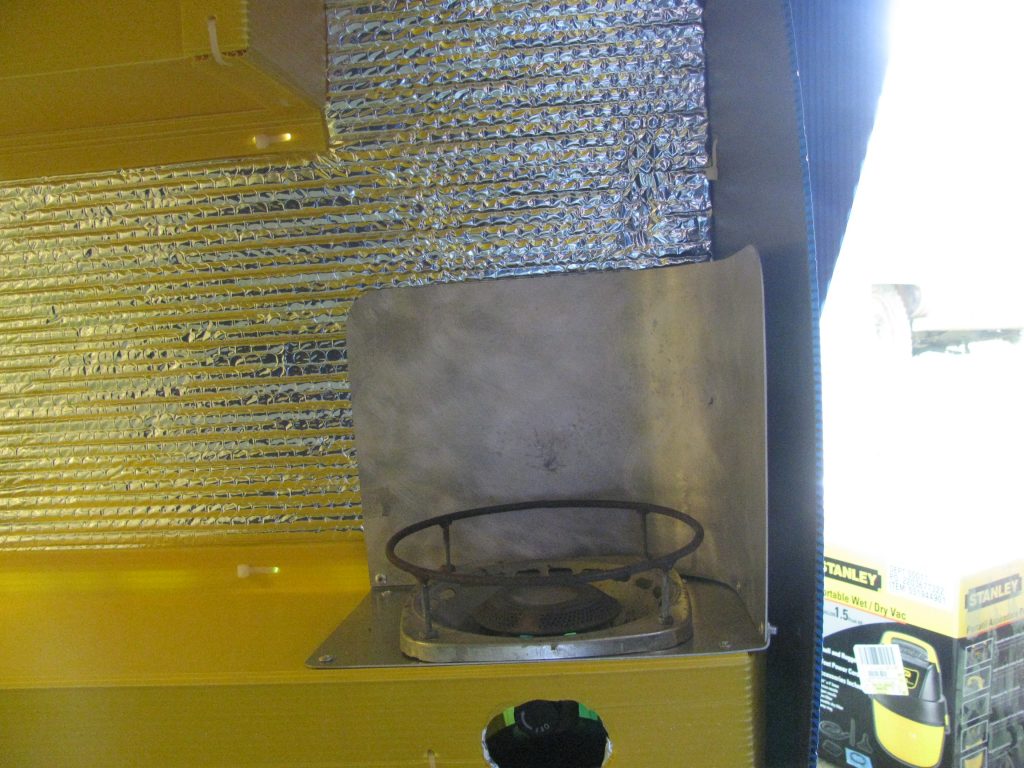
The propane burner with aluminum heat shield came out of the Homeless push cart. The looped ring above the burner was made to help hold a small fry pan in place.
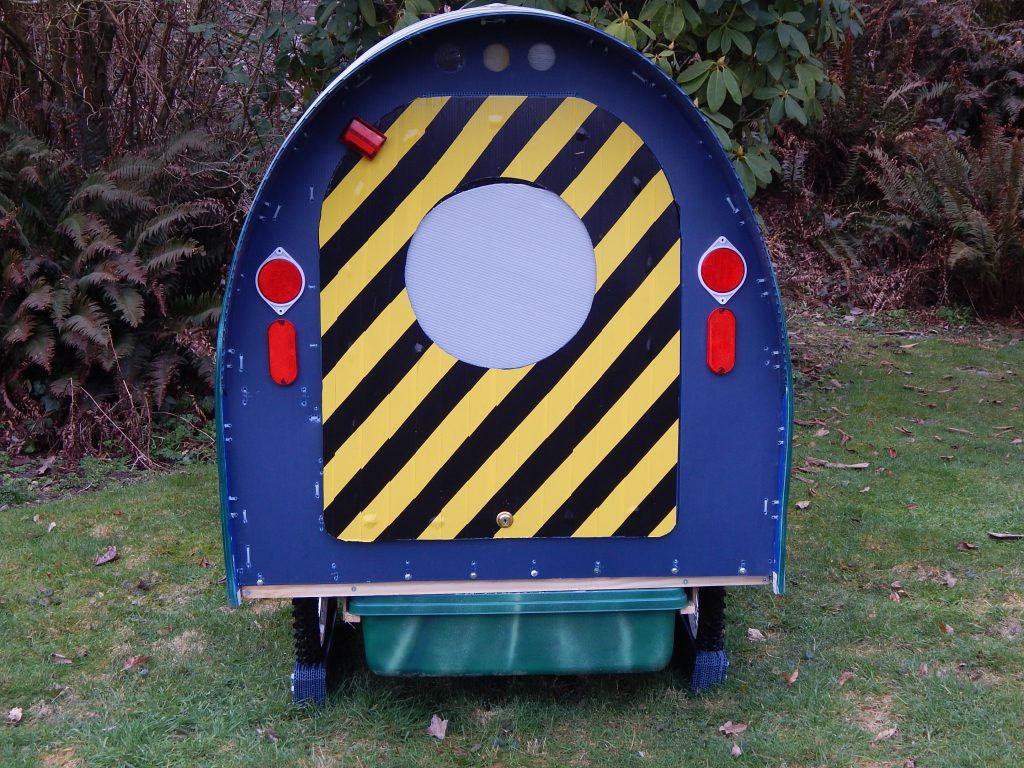
The door was made with two layers of fluted plastic. I covered the door with yellow and black striped vinyl safety tape.
A Translucent (for privacy) fluted plastic window was sandwiched in between the two layers. You can swing the window open for cooling or air circulation.
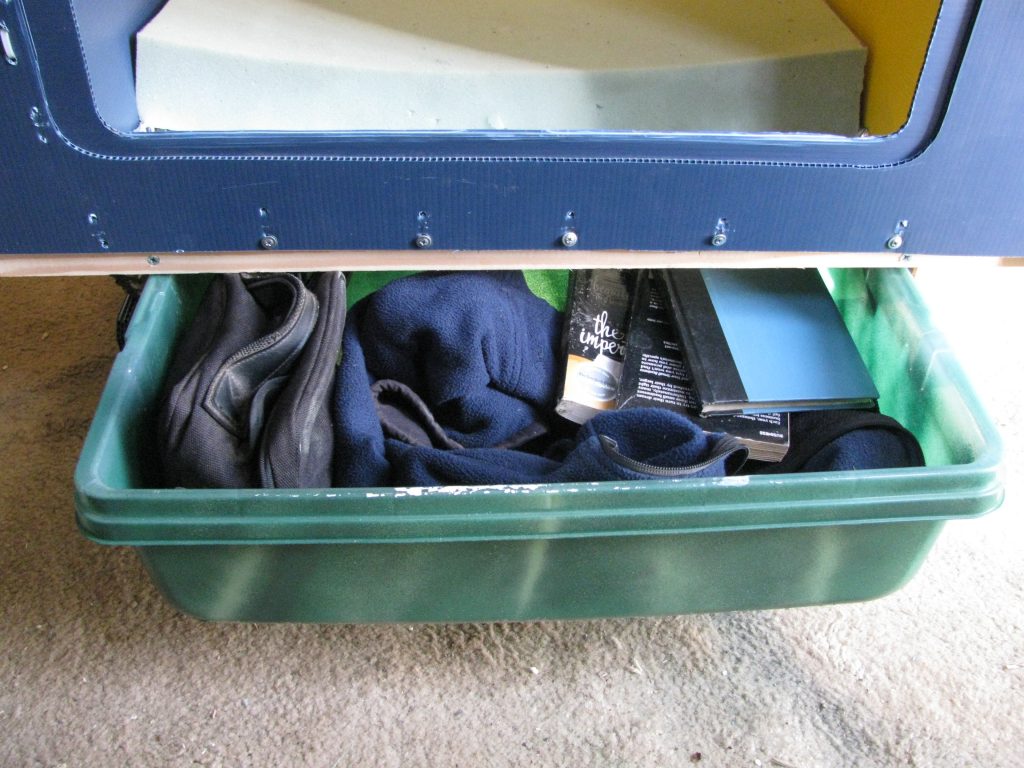
Seeing I had extra room underneath, an exterior bin was added. Heavier items are stored here to keep the center of gravity low when traveling in case of high winds.
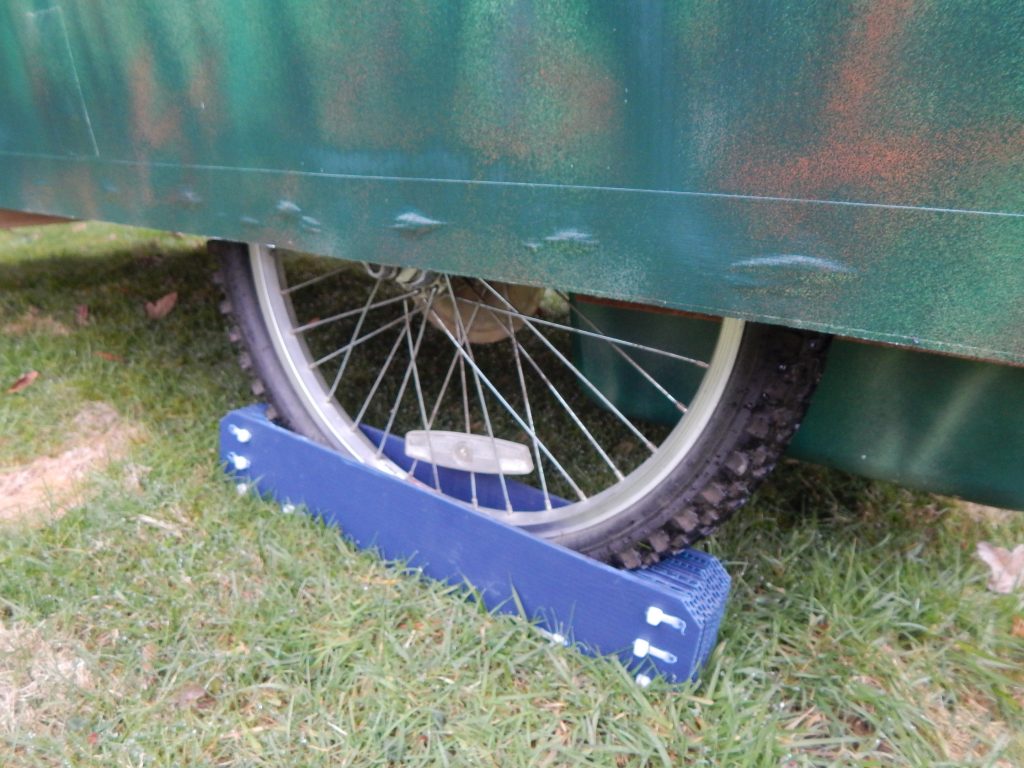
Wheel chucks are made using scrap material and zip ties.
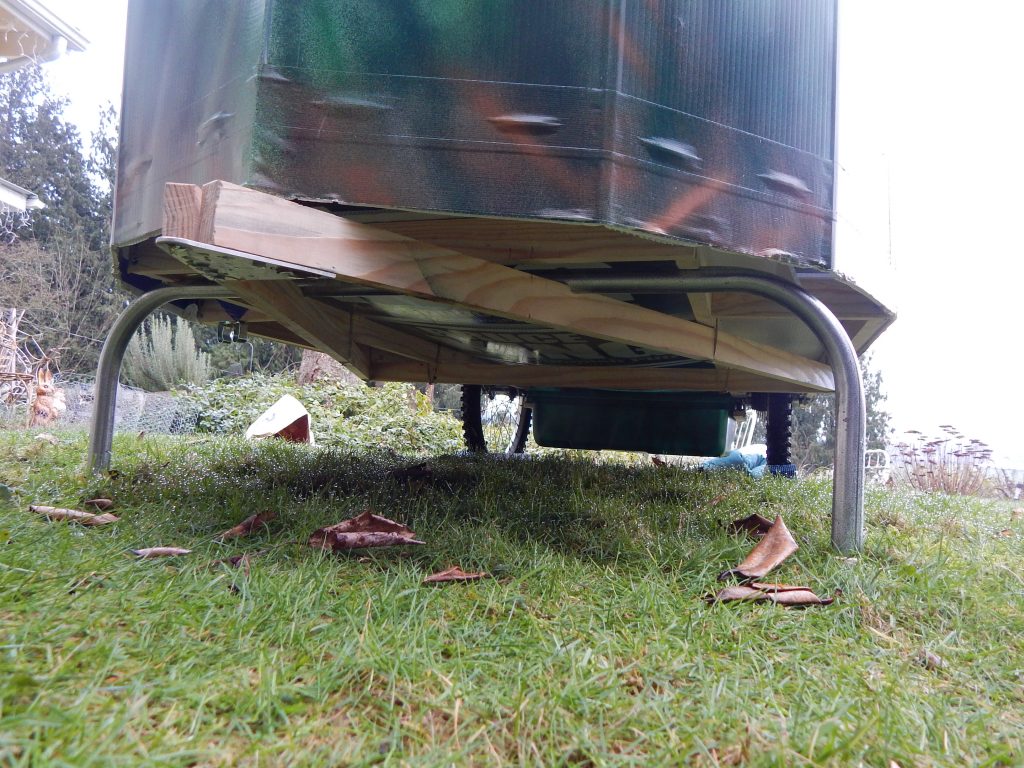
Once the wheel chucks are in place, the 1″ electrical conduit legs are deployed.
The towing hitch and bar is a simple design using a Heim joint rod end and electrical conduit.

For PDF plans, click here!